Last year, we published our First Math Interactive Notebook. It is a great introduction to numbers, counting and basic operations. I love that it is filled with hands-on seat-work that my preschooler (now K-4) can accomplish with minimal direction from me! As I mentioned back in October, we are using an interactive notebook for phonics, too.
 Actually, we ended up with 3 notebooks filled with A to Z work! They are going to be such a GREAT starting point for kindergarten. I know you will love using them with your students!

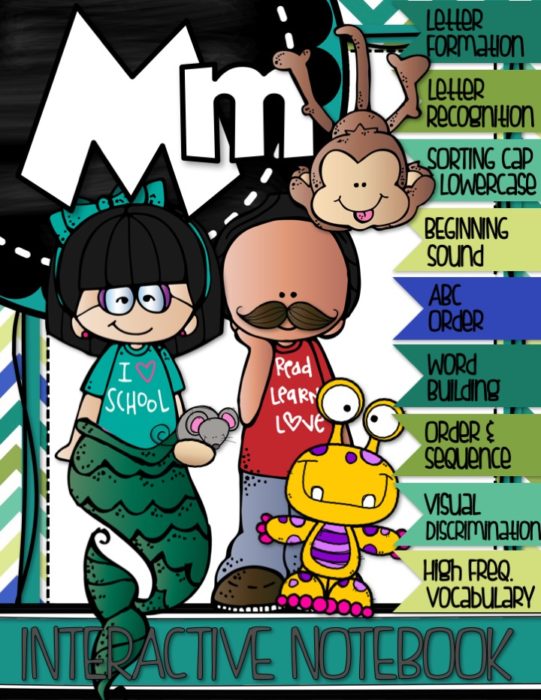
For each letter your students will practice:
- Correct letter formation (uppercase and lowercase writing)
- Letter recognition
- Sorting lowercase and uppercase
- Beginning sounds (including long and short sounds for each vowel as well as hard and soft sounds for C and G).
- Using high frequency vocabulary that begins with the target letter
- ABC order up to the target letter
- Word building with lowercase and uppercase letter matching
- Order and sequence
- Visual discrimination (identifying items that begin with the correct sound; are found in a particular place; are a particular size or shape; or simply do not belong).
- Using stickers to accomplish simple beginning target letter sound tasks

 Here is how we put our notebook together. We’ll use the printables for Letter M (download a free copy of these printables here).
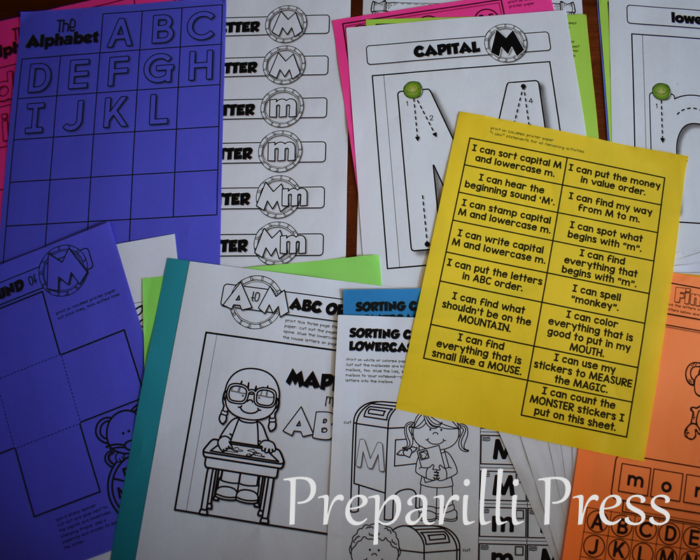
Every pack is formatted similarly to Letter M. Certain pages work best on plain paper, and others on colored. I have noted our preferences on each sheet, but you are welcome to use colored paper, or not.
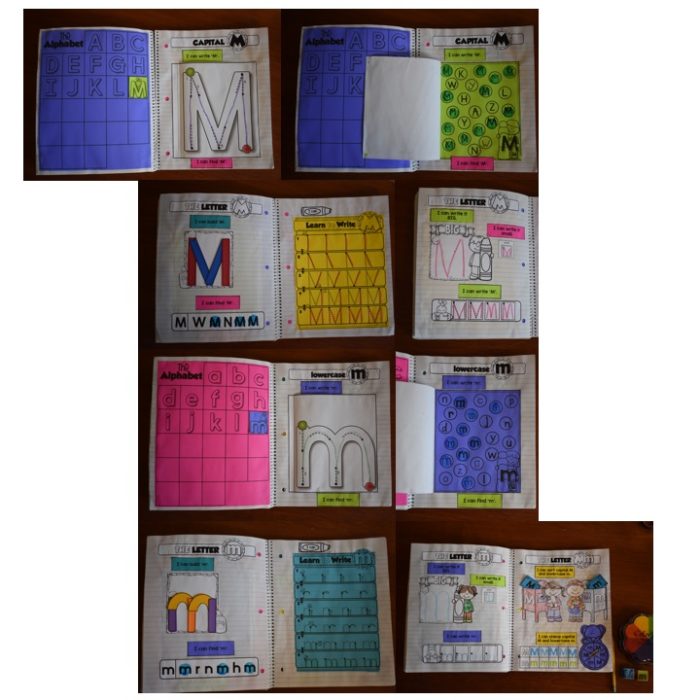
CAPITAL M: After printing this section, pages 2-3, 5-8 (including the Letter M Headers and TOC) cut out each part:
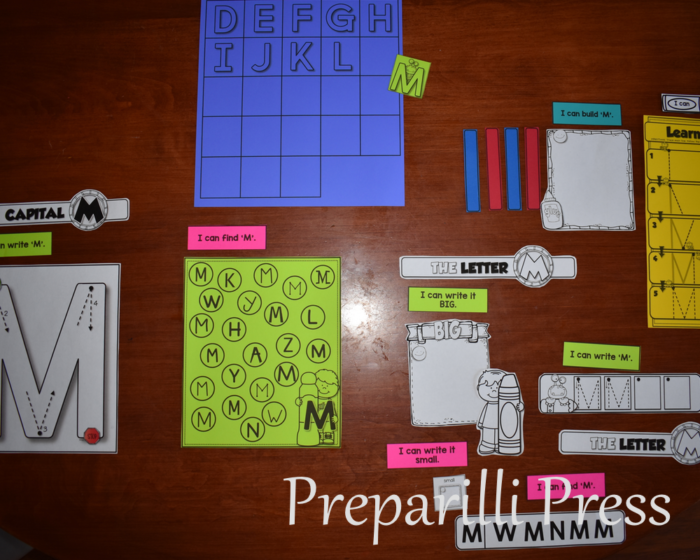
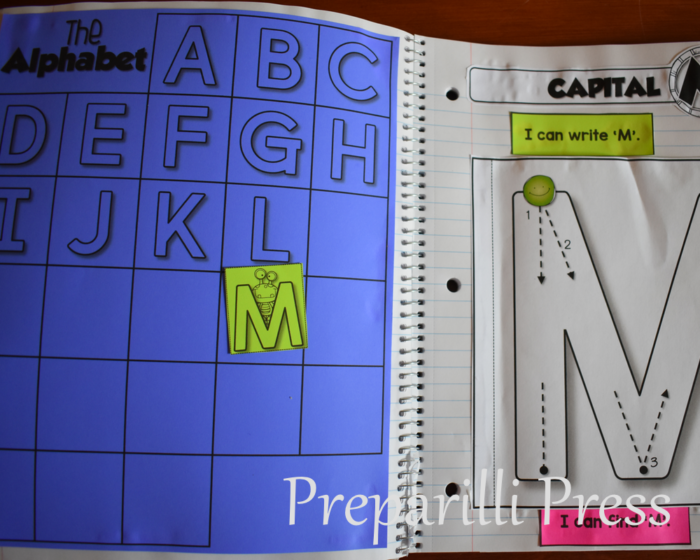
SHEET 1: If you plan on using only the Letter M pack, the capital letter Alphabet Poster will be the first page in your notebook. Trim the edges to fit, and glue the outside edge of this sheet to your notebook.
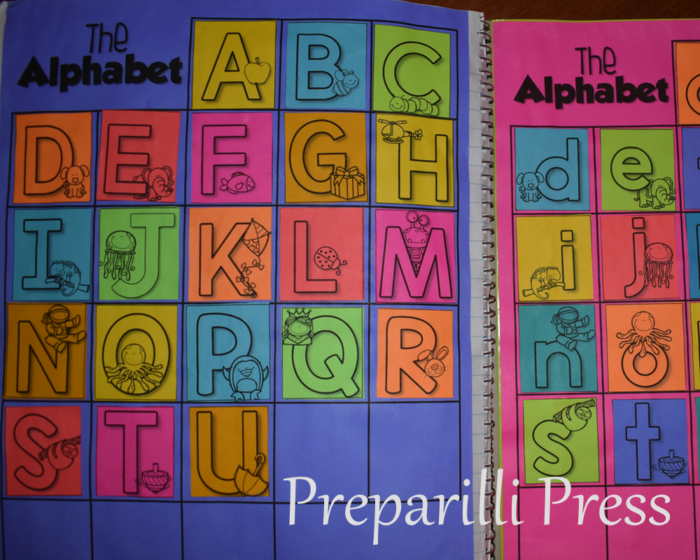
If you plan on completing all 26 weeks, glue both blank Alphabet Posters (from the Letter A pack) inside the back cover of the first notebook and refer back to it each week you add a new letter.
SHEET 2: (pages 6-7 in the pack)To introduce Letter M we will use a Correct Letter Formation flap and a Letter Recognition frame. Here it is ready to use: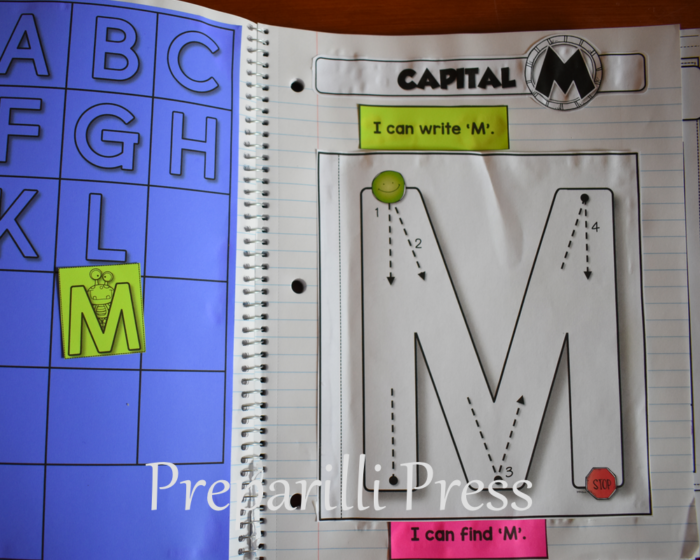
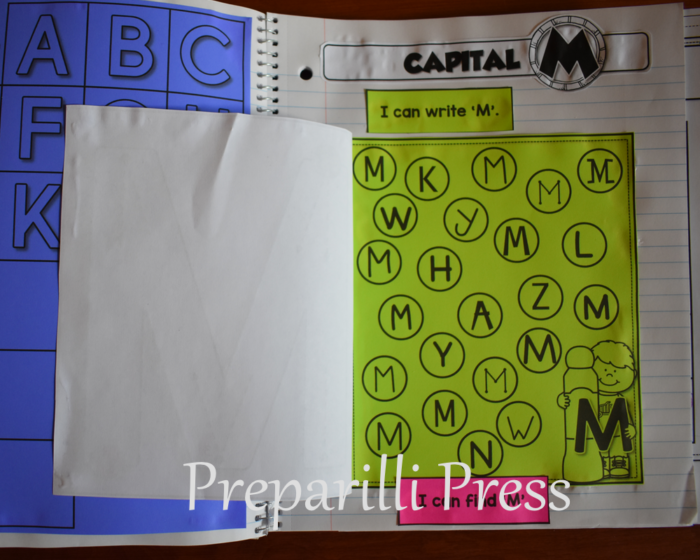
SHEETS 3 and 4: (pages 7-8 in the pack) There are two options for this sheet. We like to practice building the letter, with colored shapes similar to the Handwriting Without Tears wood pieces. Then practice finding the capital again, before we work on correctly writing it. So, our pages look like this: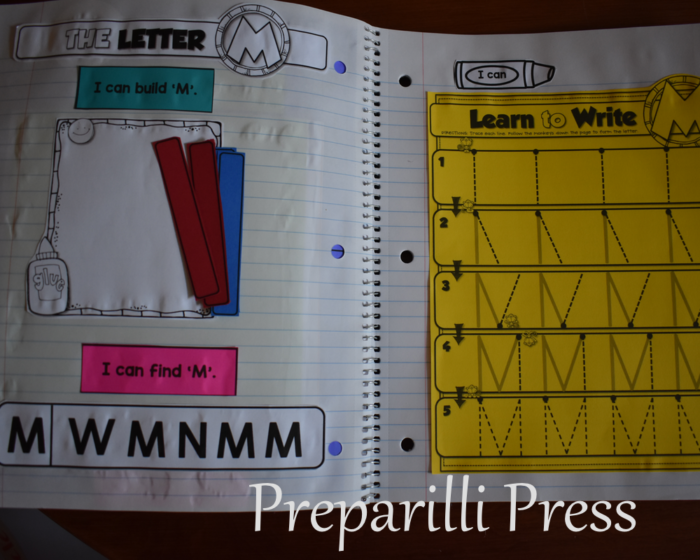
This set-up includes the Letter M sheet from Step by Step Correct Letter Formation and letter building tiles and the “I can build it” frame (soon to be published). You can also set SHEET 3 up without the extras like this: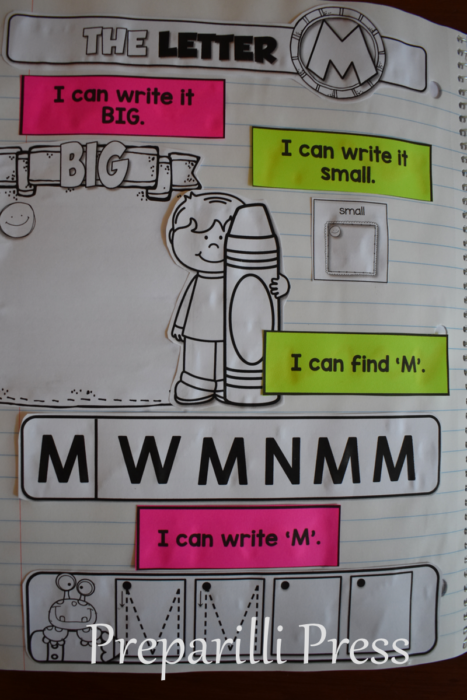
The combined set-up above, for students who do not need the extra practice of correctly forming the letter, includes pieces from our SHEET 5: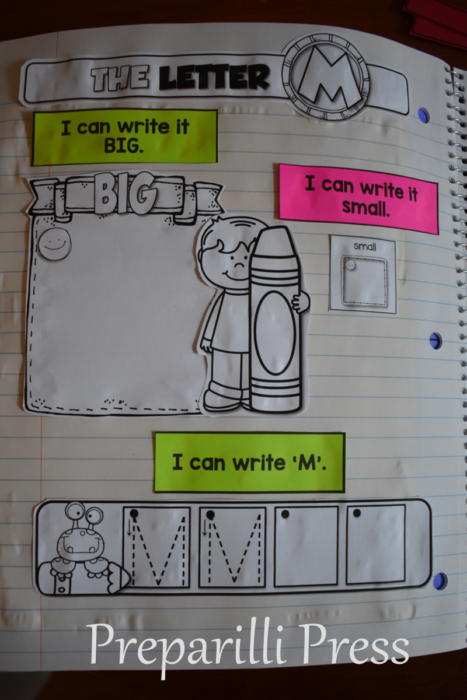
The Capital M section is complete. Lowercase M is a mirror of this section. We’ll use the figure from the TOC and pages 4, 5, and 8-10:
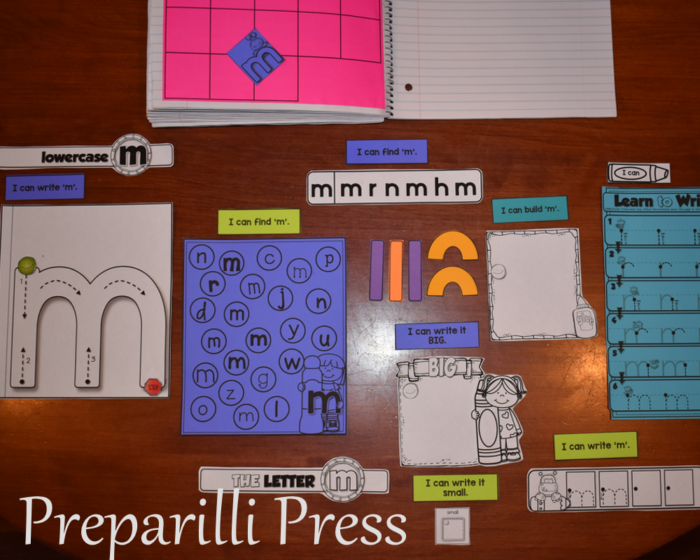
SHEETS 6-10: Here is the notebook ready to use (with the letter building activities included):
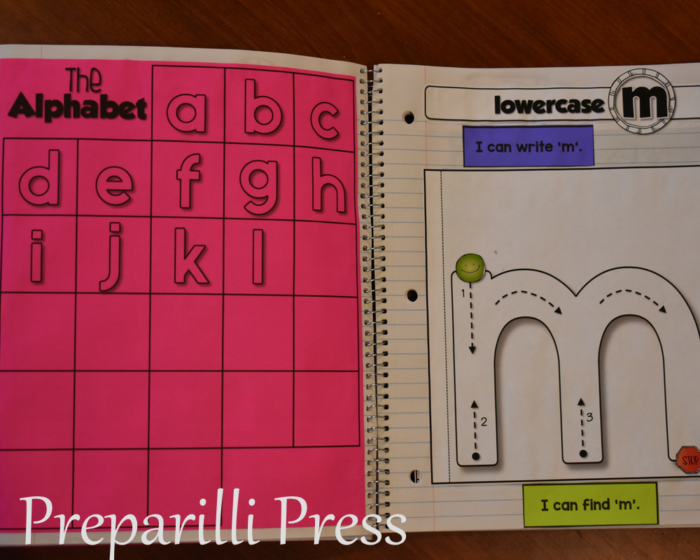
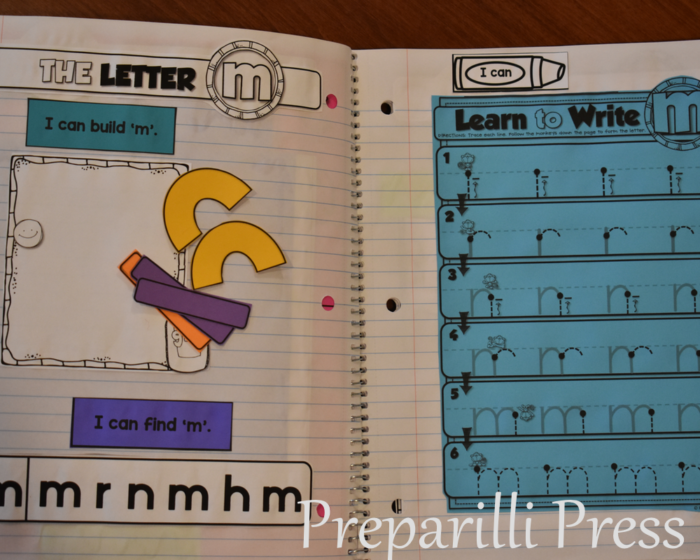
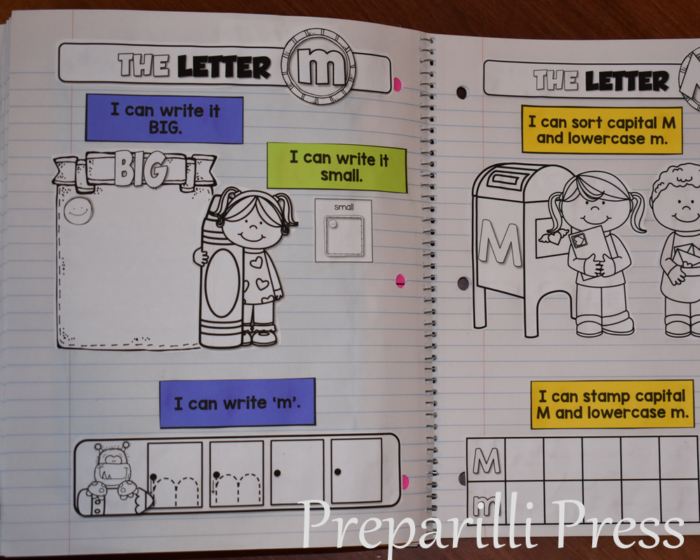
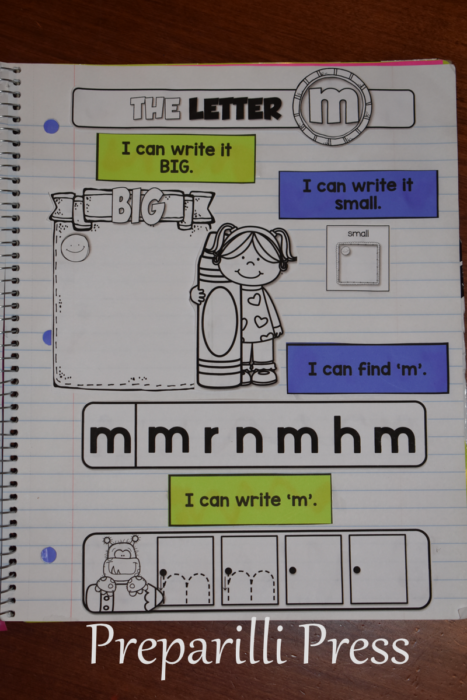
The alternative SHEET 8, using only the components from My First Interactive Notebook-Letter M looks like this:
Now for some FUN! On the next sheet your students will compare the capital and lowercase letters by sorting and spinning/stamping them.
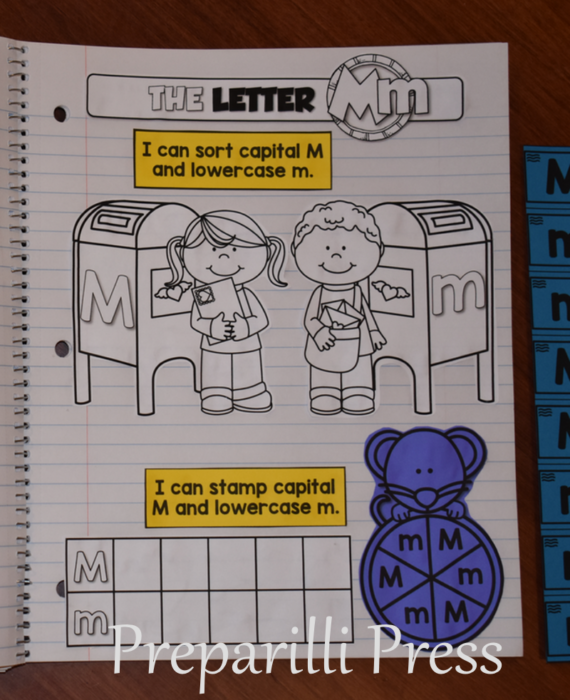
SHEET 11: Follow the directions on page 12 to cut out the letter sorting pieces. The Letter Sorting page will be different for each letter (to reinforce the beginning sound each letter makes–for M we chose “mail” and “mailbox”). But, you will always glue the pieces to make a sorting pocket. For this sheet, be sure to cut the top of the mailboxes on the line indicated and glue the top, around the sides, the kidlette, and bottom of the mailbox to your notebook. Do not glue the middle of the mailbox–this is your sorting pocket.
You will also need the “I can” statements for this sheet (page 11) and the spinner (page 13) and stamp frame (page 14). [These are located on different pages so you can alternate colors throughout the your notebook without double-printing individual pages.]
Here is SHEET 11 ready to use:
SHEET 12: Now we’ll work on the SOUND of M. Cut the petal book and header from page 13 and the remaining pieces from page 14 (plus the I CAN statements associated with these tasks from page 11). Your students should color the beginning sound pictures before cutting and pasting them. The petal book is easy to assemble. Simply fold inward along the dotted lines, until it looks like a square (or square-ish :). Glue the back of the petal book into your notebook.
Your page will look like this: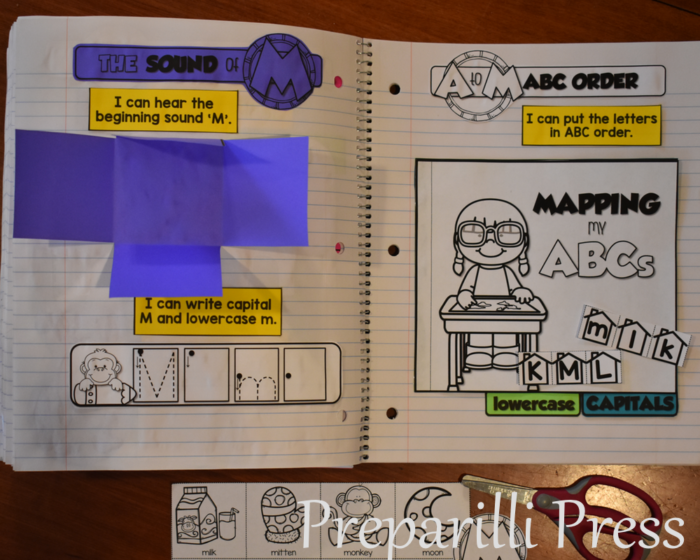
SHEET 13: (see above) This is our ABC Order sheet (pages 15-17, plus the I CAN statement from page 11 and the letter houses from page 8). Use color, or white paper, for the ABC Orders–I like to vary it from letter to letter.
Just like the Letter Sorting, the ABC Order will be specific to the letter you are working on. For Letter M we chose “map.” Additionally, the ABC Order will only include letters that precede the target letter–so this week we are reviewing A-M. Your students will only need to put the last 3 letters in order each week. If you’d like these sheets with all the letters A-M for your students to sort, you can find them here (coming soon!).
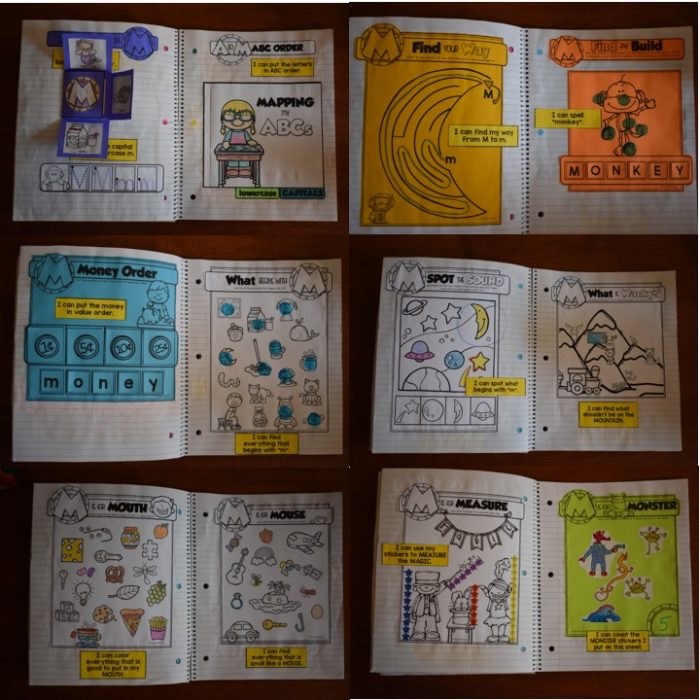
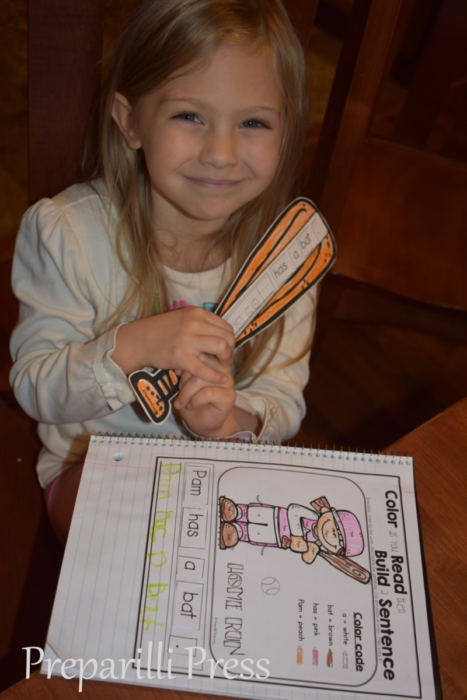
SHEETS 14-23: (pages 18-27) This section requires very little prep on your part. Most sheets will require you to simply trim the excess white space around the activity frame. The Find and Build sheet (page 19) and Order/Sequence sheet (page 20) are the only ones that will require you to cut out other pieces. It is also up to you what order you have your students complete this section. Here is how we set ours up:
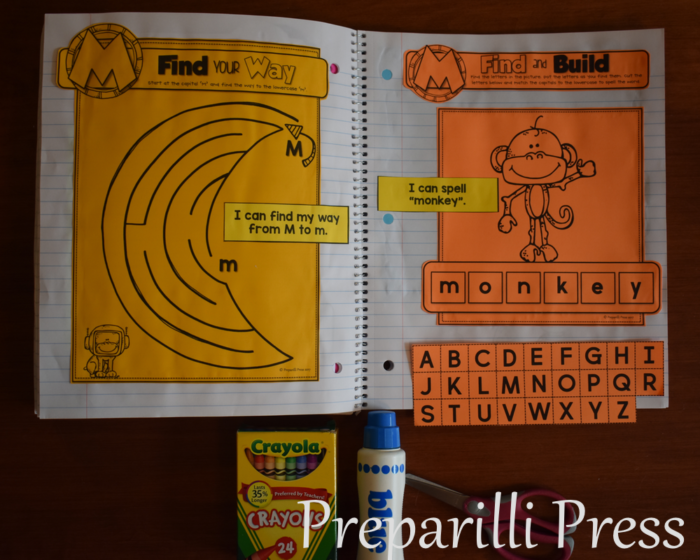
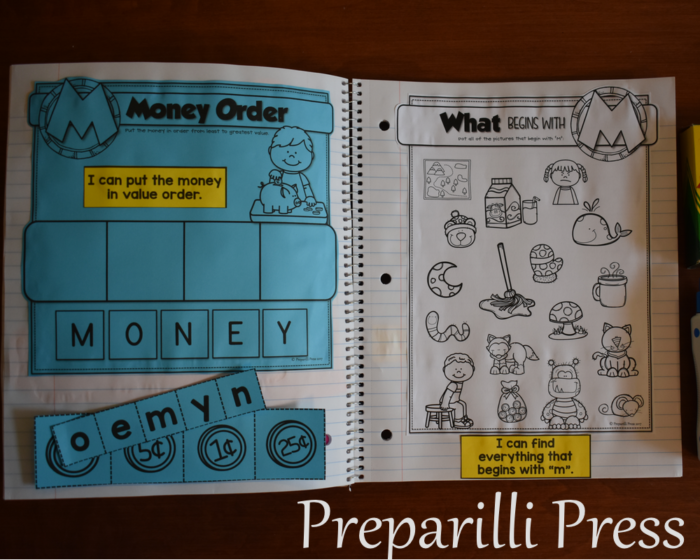
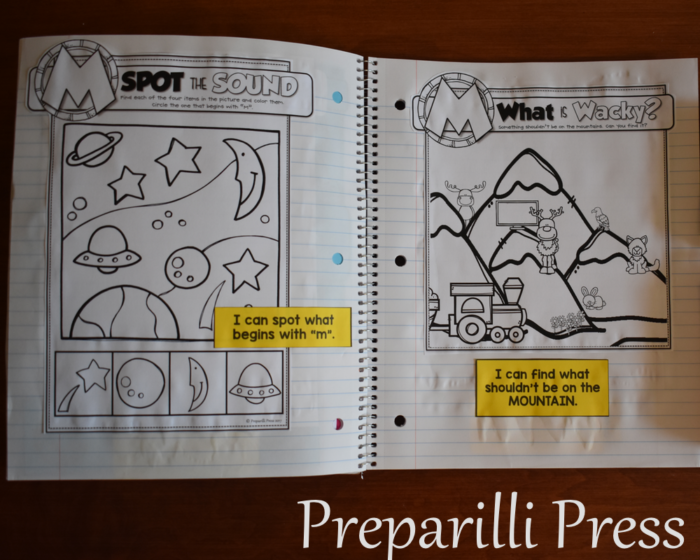
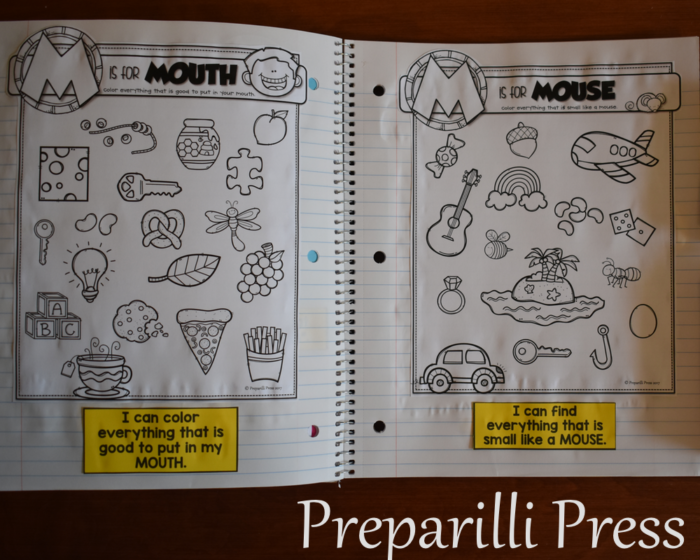
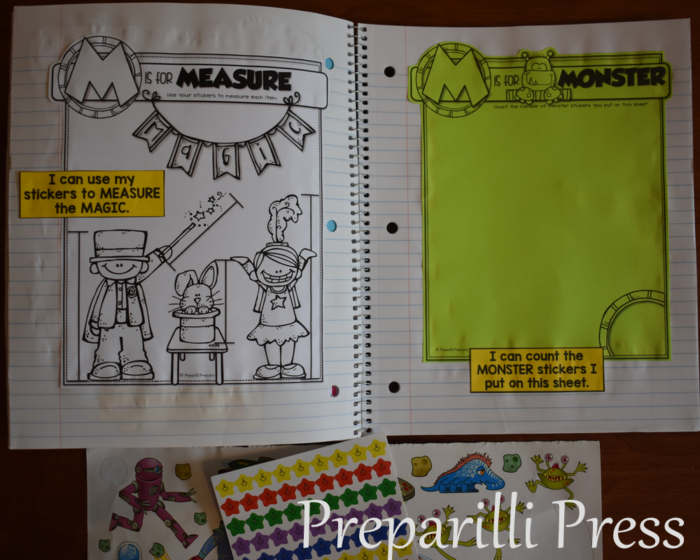 These last two sheets we will use stickers to complete the activities.
Here is a view of the completed Letter M sheets:

 You can get it here.
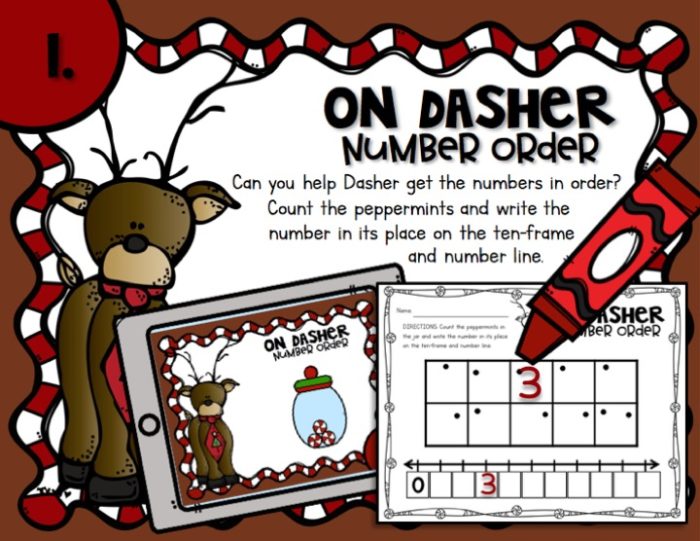 Skills includes: counting, number order, correct number formation
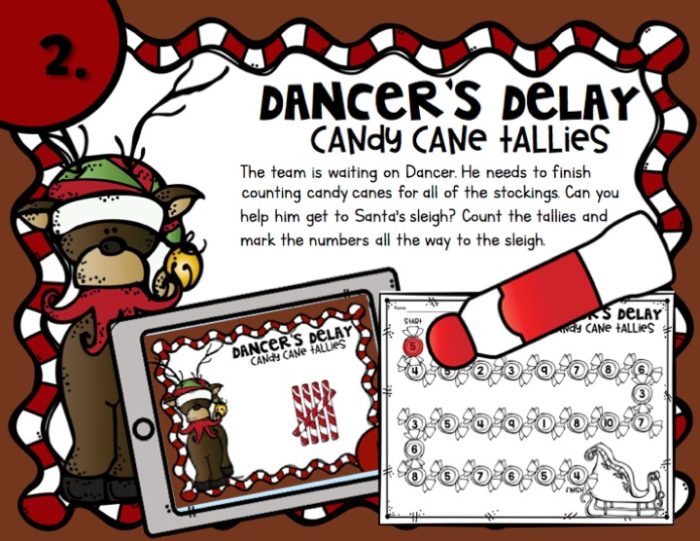 Counting tallies & marking the number they represent
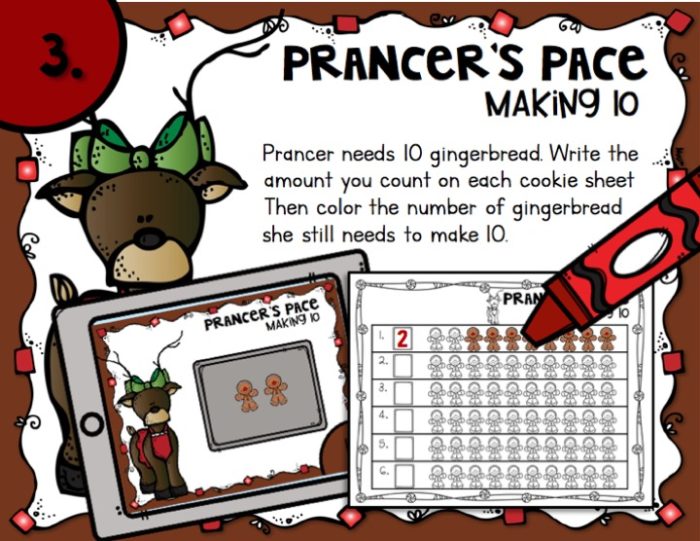 Counting & deciphering the amount left to make 10
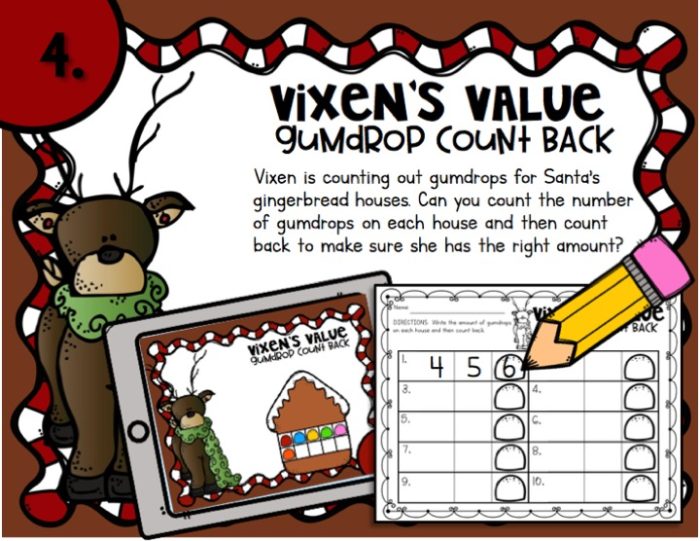 Translating a ten-frame numeral to its number and counting back (0-15).
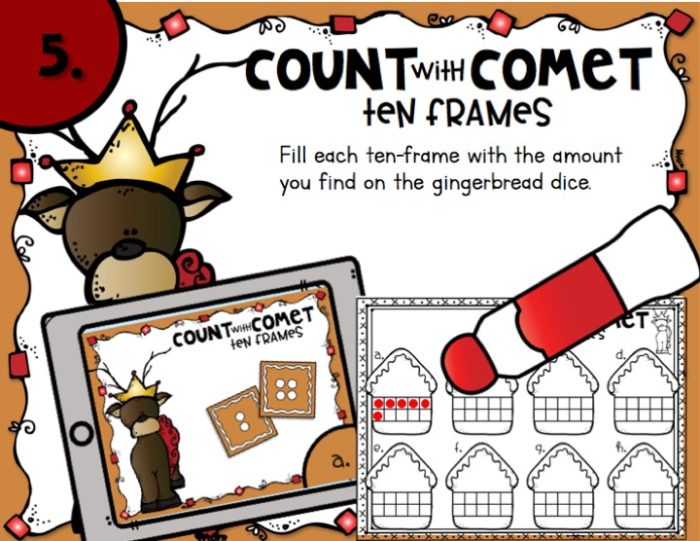 Counting and ten-frame formation
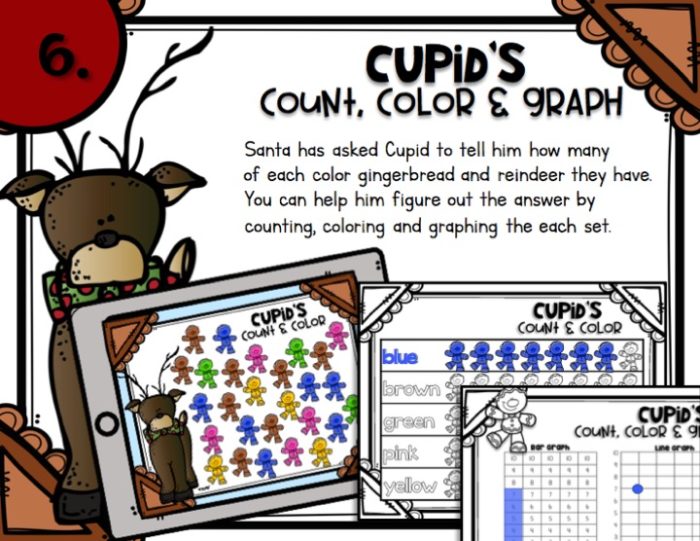 Counting, grouping, graphing (1-10)
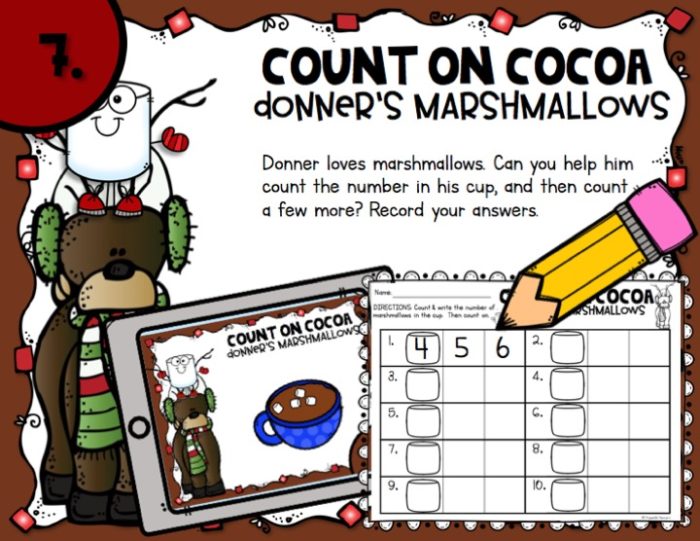 Counting what they see, numbering writing and counting on (0-12)
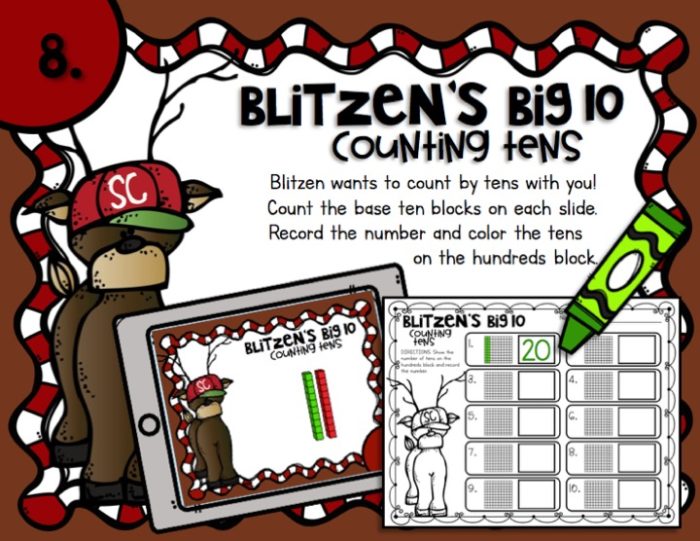 Counting by 10s; number writing and comparing to 100 (10-100)
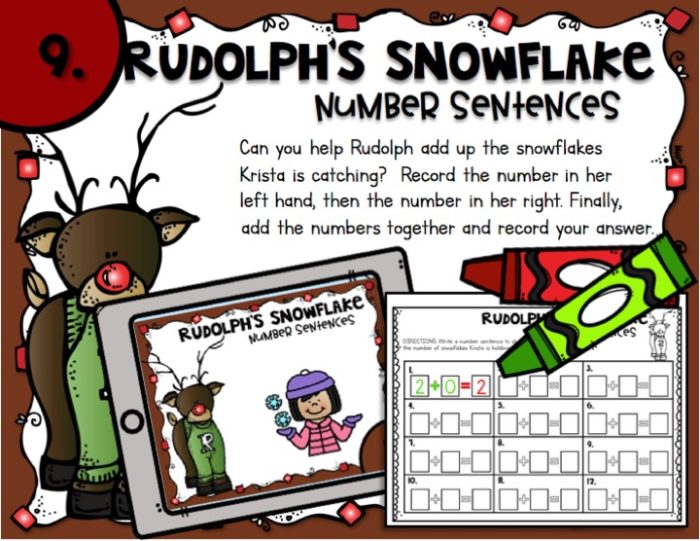 Writing addition equations to 10; left and right


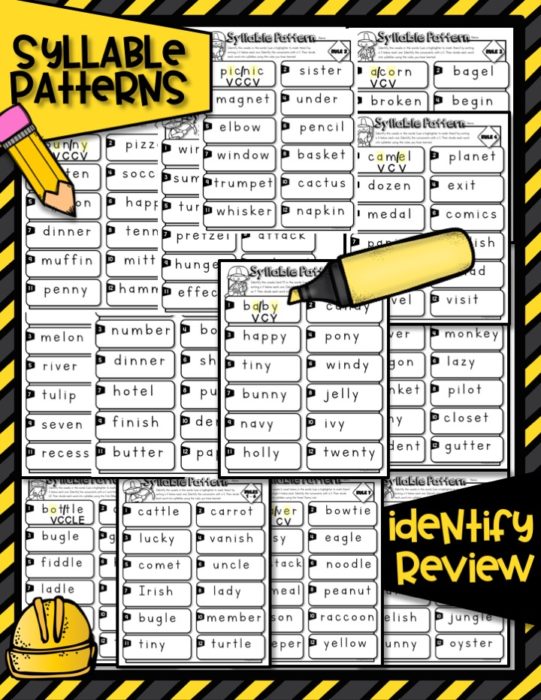

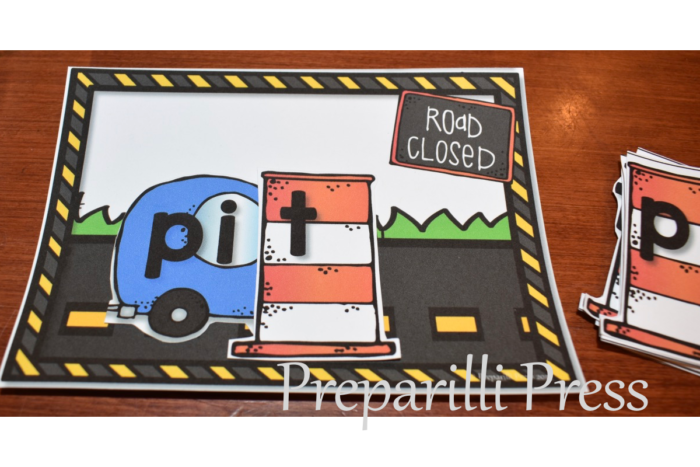
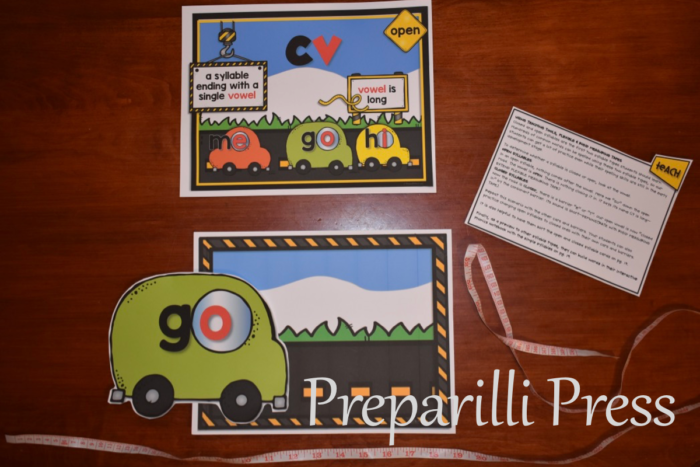 The LONG measuring tape remind us that these vowels are LONG. But, as we “go” along the road, we might run into a barrier–a CONSONANT barrel: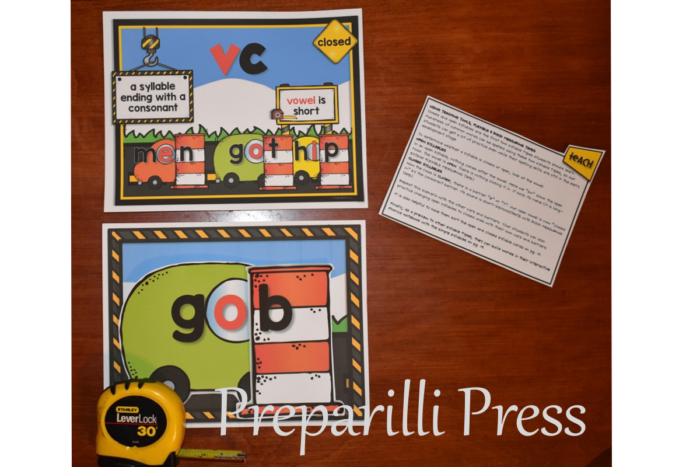
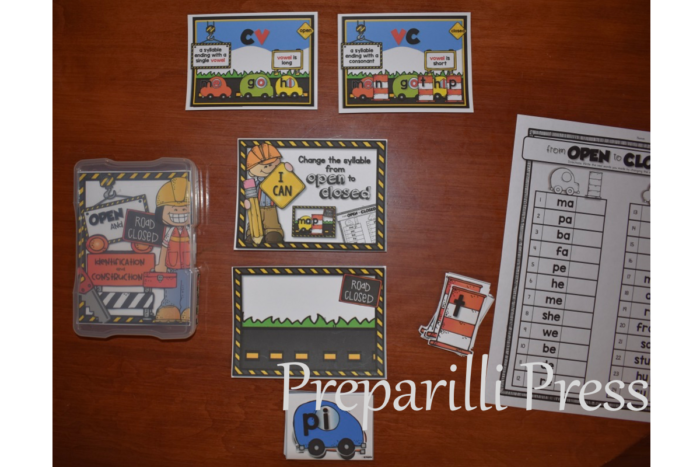 There is a recording sheet included for this activity.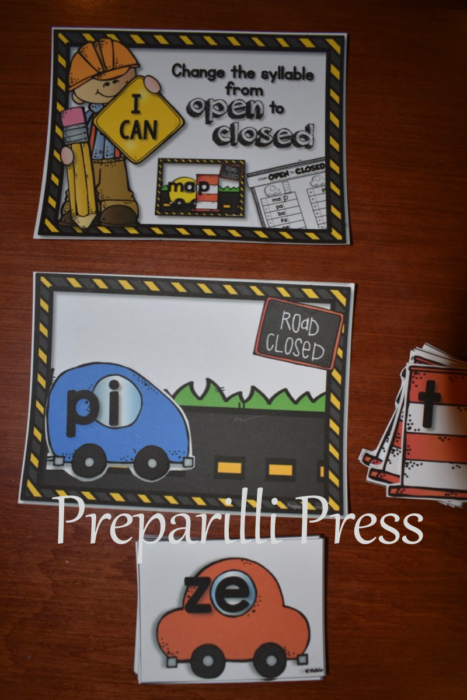
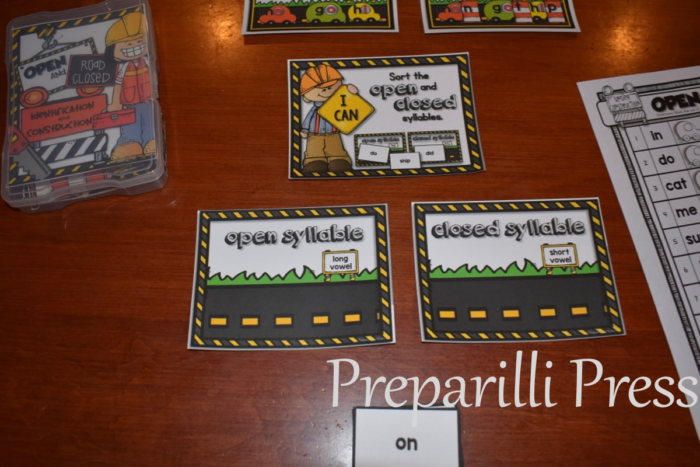
 Our
Our