Are you thinking about sending your kindergartner to a summer camp for their character development? Why not spend a few minutes each day teaching them foundational scripture instead?
The activities included in this pack will help your children visualize the key points of each verse and apply them to their walk with Christ.
SCRIPTURES I STUDY from A to Z was created as a companion to the Harrow Family’s Sing the Word from A to Z (part of Sonlight’s Bible A memory program curriculum). But, it can be used on its own, or with your letter of the week program.
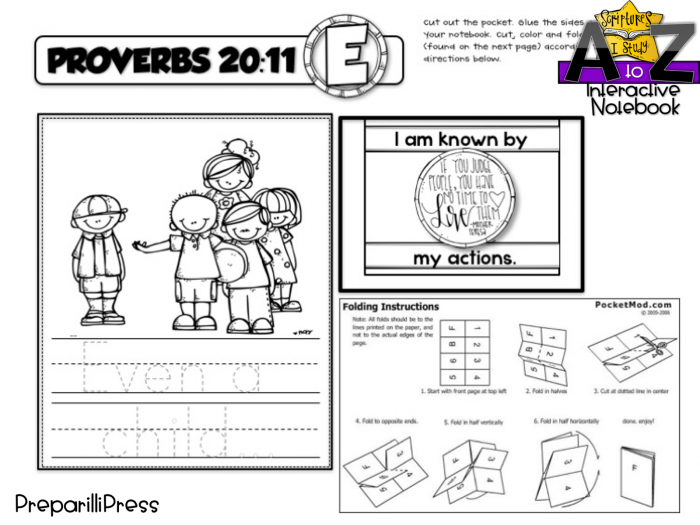
Each activity in this resource is designed to cover two-pages in a standard 7×9 composition notebook. In our notebook, we glued the uppercase letter header, scripture reference, and handwriting practice on the left-hand pages. We composed all of the activities on the right-hand pages.
For example, with letter E you will print two pages:
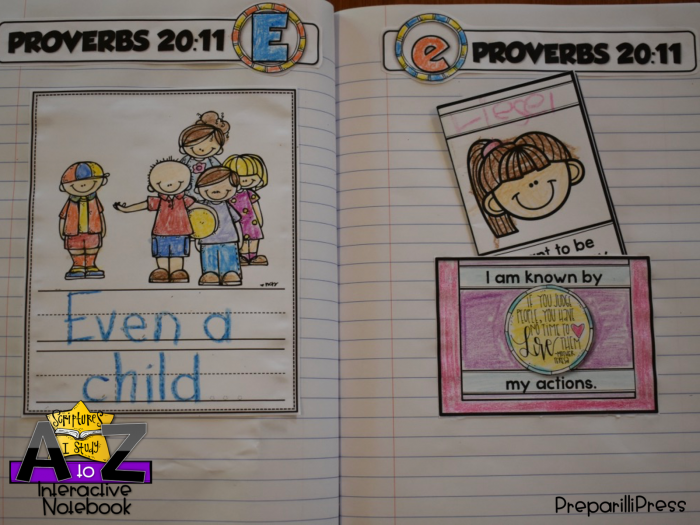
After building the pages and completing the activity, your notebook will look like this:
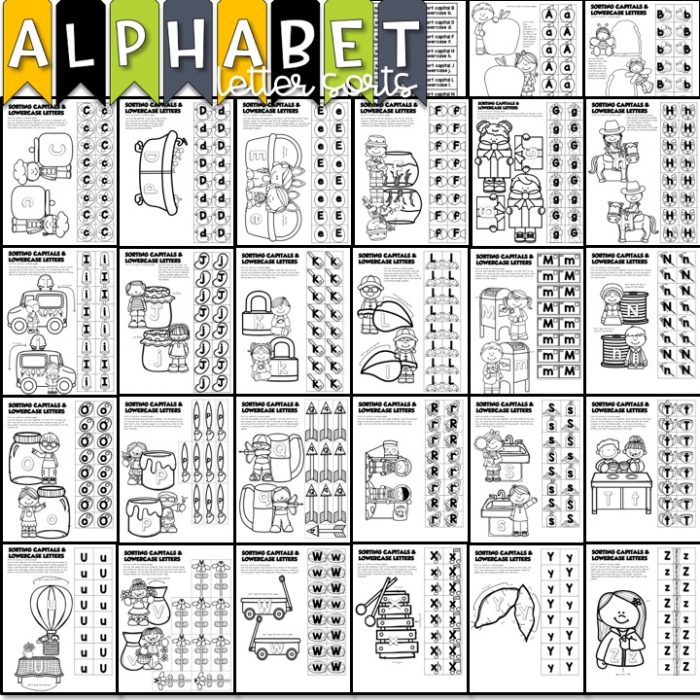
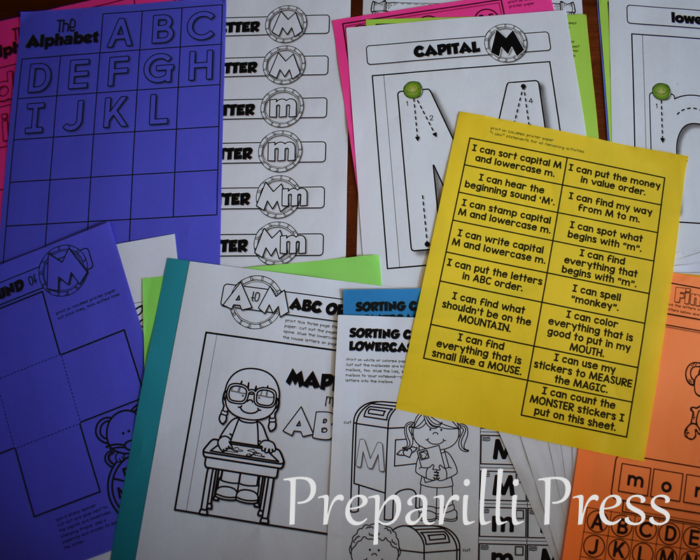
Each letter, A to Z, has:
1. The target letters (uppercase and lowercase for letter identification/recognition) that begin the scripture
2. A portion of the scripture in dashed print (the full scripture can be found on the Scripture Memorization Cards included in this set).
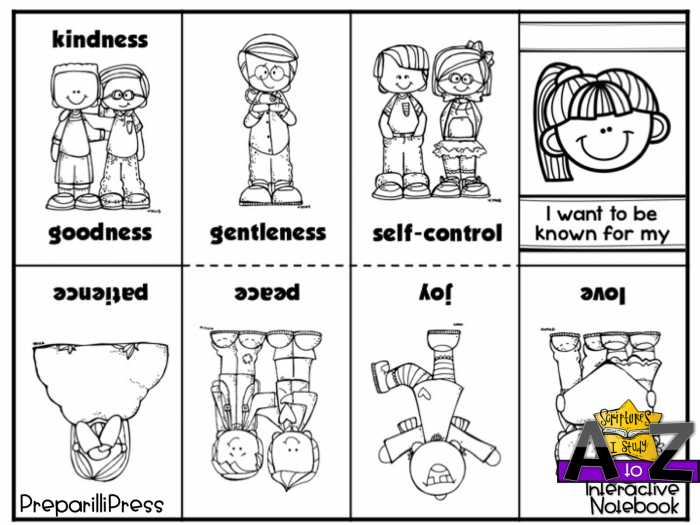
3. Graphics by Melonheadz that correspond with the scripture. Here your students will meet and color some of their Bible heroes and other relevant pictures. The graphics give you a chance to talk about the heroes and discuss the scripture.
4. An interactive activity designed to apply the scripture to your Kindergartener’s walk and growth in Christ. Each activity has its own instructions. Most can be completed with supplies you have on hand.
So grab a composition book, scissors, glue and crayons and starting laying a solid foundation in the Word of God for your child’s character to bloom and grow!
Letter Z has been added to this amazing set of interactive phonics activities, so this baby is complete! Yay! Grab it at half-off today!
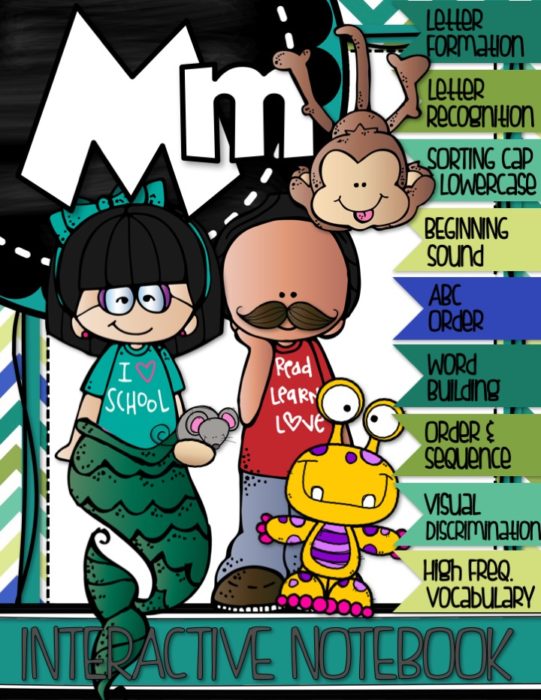
For each letter your students will complete hands-on activities for: – Correct letter formation (uppercase and lowercase writing)
– Letter recognition
– Sorting lowercase and uppercase
– Beginning sounds (including long and short sounds for each vowel as well as hard and soft sounds for C and G).
– Using high frequency vocabulary that begins with the target letter
– ABC order up to the target letter (this set can be purchased separately here)
– Word building with lowercase and uppercase letter matching
– Order and sequence
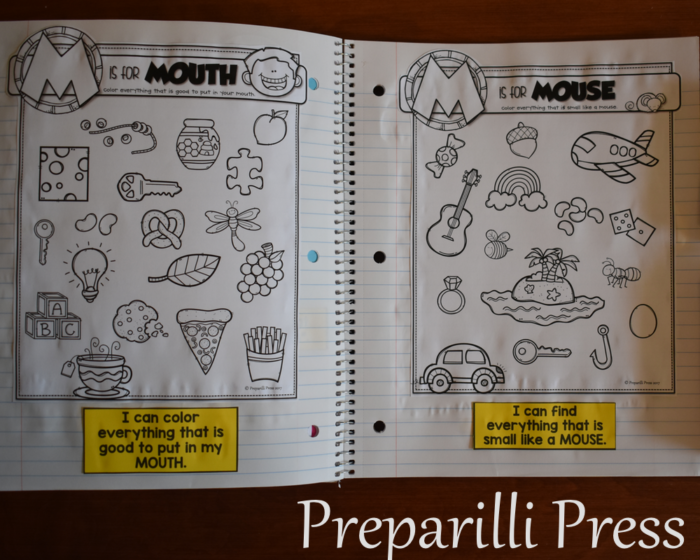
– Visual discrimination (identifying items that begin with the correct sound; are found in a particular place; are a particular size or shape; or simply do not belong).
– Using stickers to accomplish simple beginning target letter sound tasks
Are you ready for some awesome interactive learning? Check out the tutorial to see how we put our notebook together and be sure to grab your copy of Letter M.
We are kicking off our school year today with a FLASH FREEBIE for you! If you are teaching Pre-Schoolers or Kindergarteners, you are going to LOVE these fun, self-exploration crafts.
We will be using the “This is Me” and “My Name Begins With” on the first two pages of our Kindergarten LA notebooks. Our Kindergarten Math notebook will begin with “My Birthday is On”, “My Hand” and “Is My Foot a Foot.”
If you want to use the pages in your Interactive Notebooks, like we are doing, just scale them to 85% , trim the excess white space and glue ’em in :).
It will be free for the next 6 hours and then half-off the rest of the day!
The growing bundle is here! It includes all of the letters completed (A to X) and an editable cover page for your interactive notebooks. Letters Y and Z will be added in September.
If you haven’t downloaded your free sample {Letter M}, you can get it here. There is also a tutorial that will help you put it all together.
You are going to love the strong phonics foundation that MY FIRST A to Z INTERACTIVE NOTEBOOK helps you provide your students. Your students will not only enjoy building each page and making it “theirs” by adding color and their creativity, but they will also love going back and reviewing their completed pages and therefore reinforcing what they have learned.
Interactive notebooks help you cut the clutter in your classroom. When your students practice and reflect on phonics and the alphabet in one location, it allows them to be organized. You won’t lose or misplace their work, and they will benefit from the chance to reflect (and interact with) all they learn.
This bundle will be listed at half-off through Wednesday!
Actually, we ended up with 3 notebooks filled with A to Z work! They are going to be such a GREAT starting point for kindergarten. I know you will love using them with your students!
For each letter your students will practice:
Correct letter formation (uppercase and lowercase writing)
Letter recognition
Sorting lowercase and uppercase
Beginning sounds (including long and short sounds for each vowel as well as hard and soft sounds for C and G).
Using high frequency vocabulary that begins with the target letter
ABC order up to the target letter
Word building with lowercase and uppercase letter matching
Order and sequence
Visual discrimination (identifying items that begin with the correct sound; are found in a particular place; are a particular size or shape; or simply do not belong).
Using stickers to accomplish simple beginning target letter sound tasks
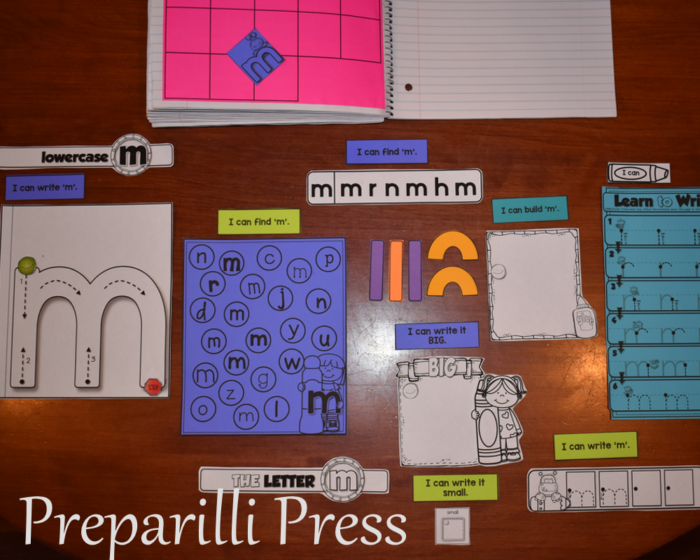
Here is how we put our notebook together. We’ll use the printables for Letter M (download a free copy of these printables here).
Every pack is formatted similarly to Letter M. Certain pages work best on plain paper, and others on colored. I have noted our preferences on each sheet, but you are welcome to use colored paper, or not.
CAPITAL M: After printing this section, pages 2-3, 5-8 (including the Letter M Headers and TOC) cut out each part:
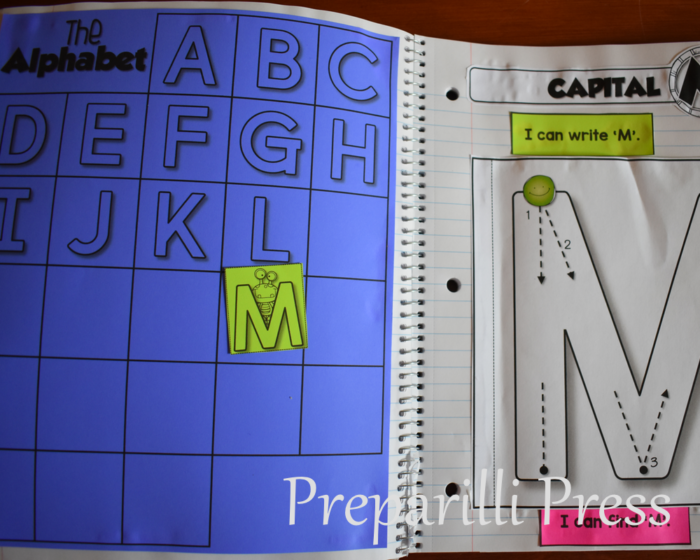
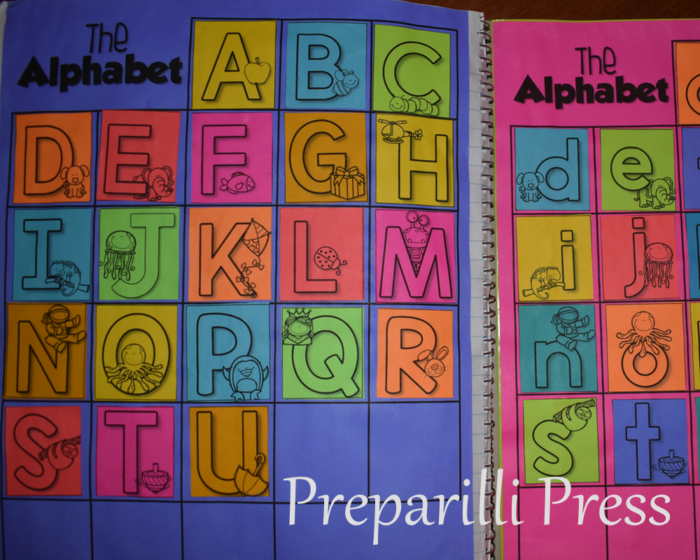
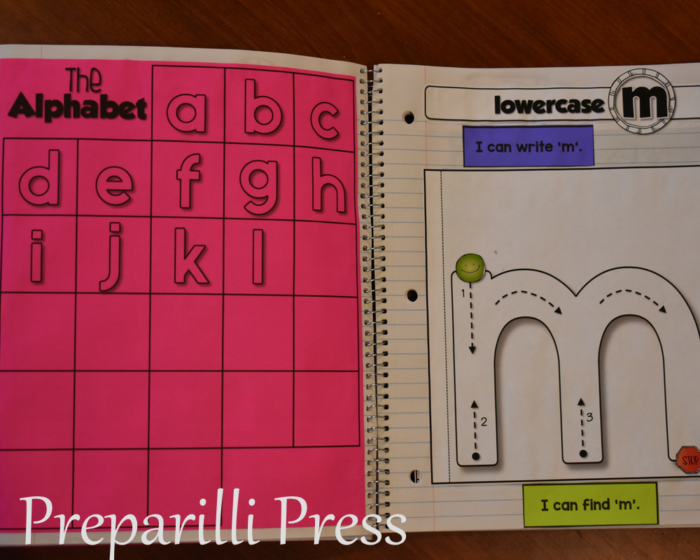
SHEET 1: If you plan on using only the Letter M pack, the capital letter Alphabet Poster will be the first page in your notebook. Trim the edges to fit, and glue the outside edge of this sheet to your notebook.
If you plan on completing all 26 weeks, glue both blank Alphabet Posters (from the Letter A pack) inside the back cover of the first notebook and refer back to it each week you add a new letter.
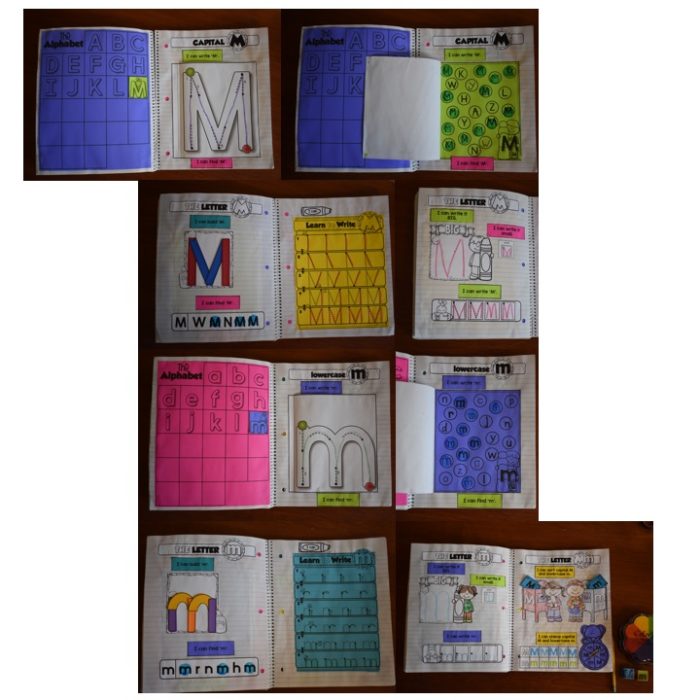
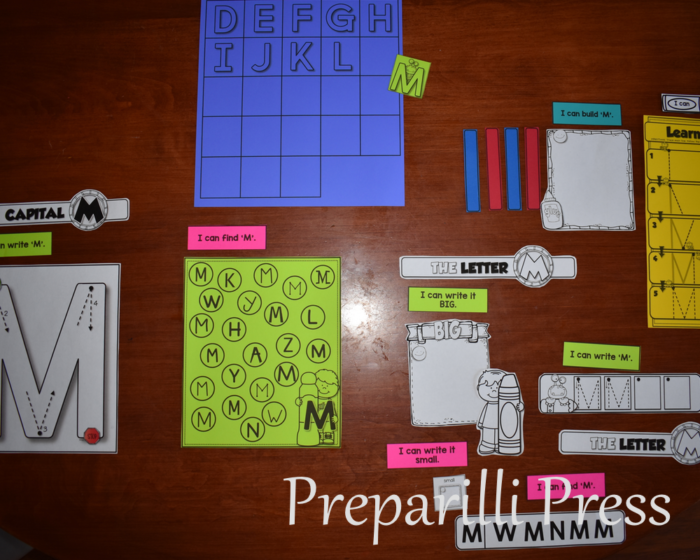
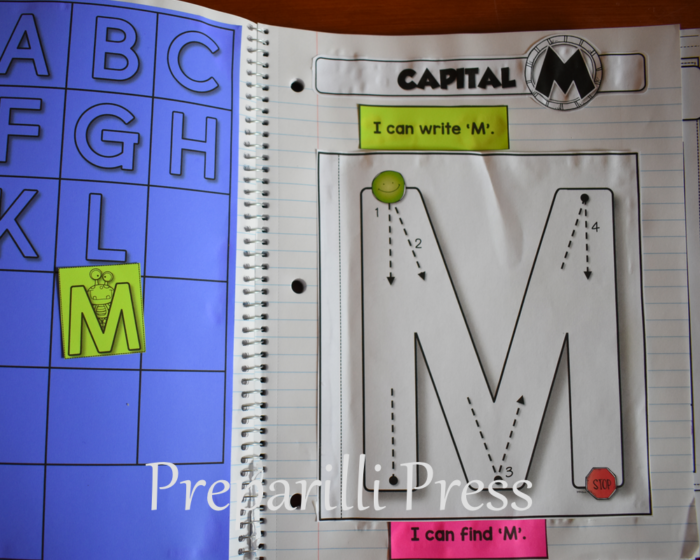
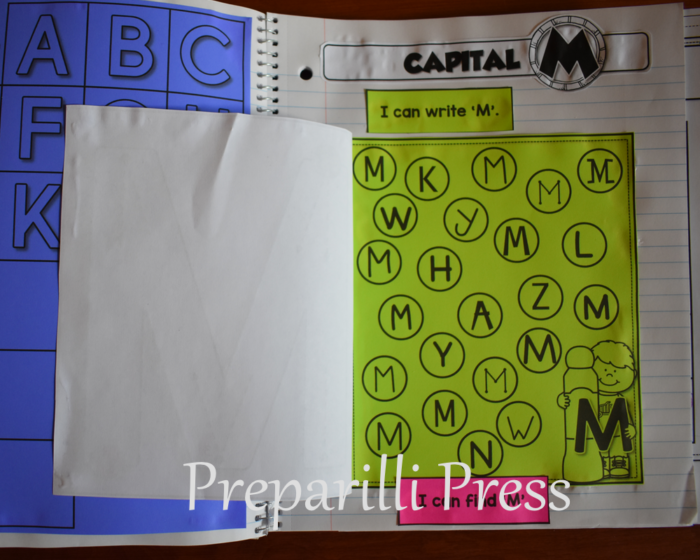
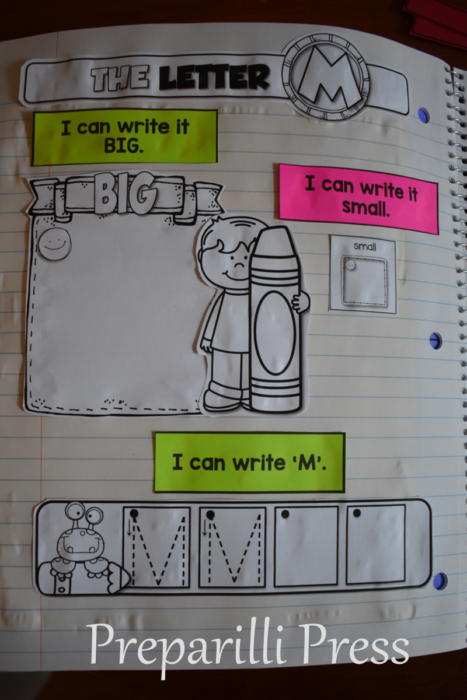
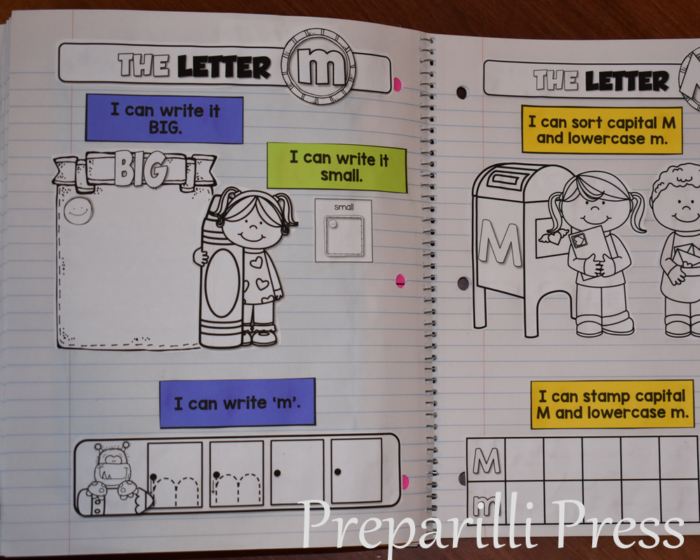
SHEET 2: (pages 6-7 in the pack)To introduce Letter M we will use a Correct Letter Formation flap and a Letter Recognition frame. Here it is ready to use:
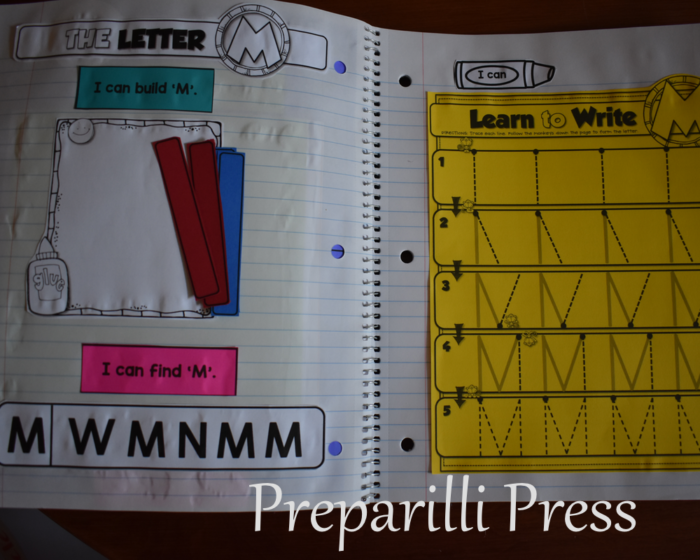
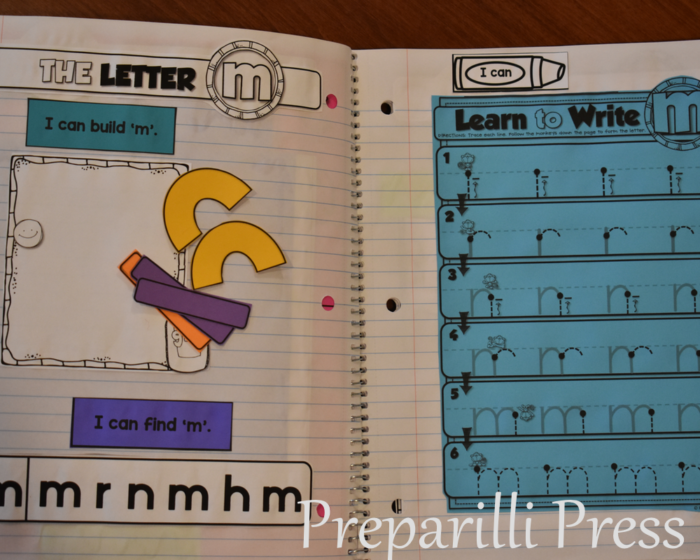
SHEETS 3 and 4: (pages 7-8 in the pack) There are two options for this sheet. We like to practice building the letter, with colored shapes similar to the Handwriting Without Tears wood pieces. Then practice finding the capital again, before we work on correctly writing it. So, our pages look like this:
This set-up includes the Letter M sheet from Step by Step Correct Letter Formation and letter building tiles and the “I can build it” frame (soon to be published). You can also set SHEET 3 up without the extras like this:
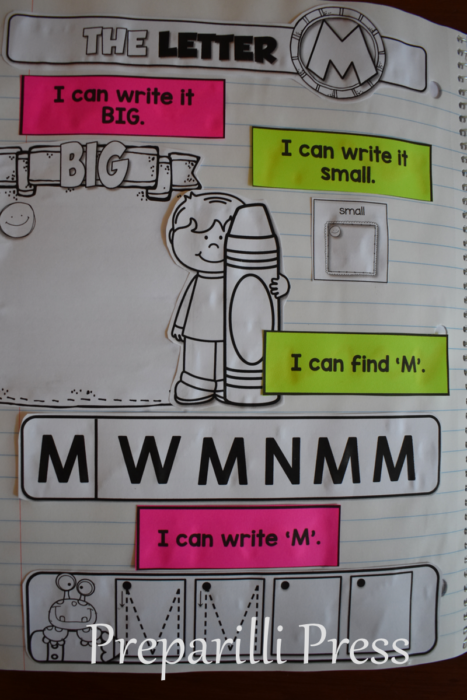
The combined set-up above, for students who do not need the extra practice of correctly forming the letter, includes pieces from our SHEET 5:
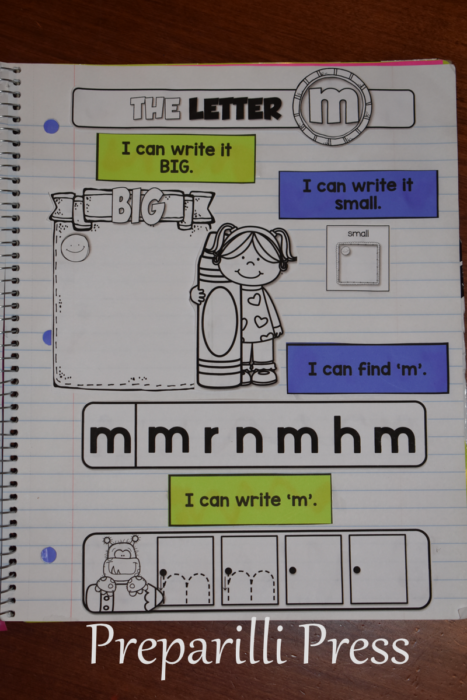
The Capital M section is complete. Lowercase M is a mirror of this section. We’ll use the figure from the TOC and pages 4, 5, and 8-10:
SHEETS 6-10: Here is the notebook ready to use (with the letter building activities included):
The alternative SHEET 8, using only the components from My First Interactive Notebook-Letter M looks like this:
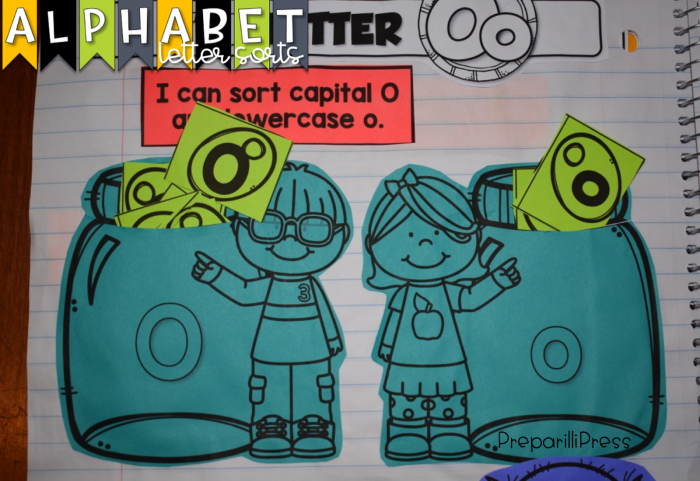
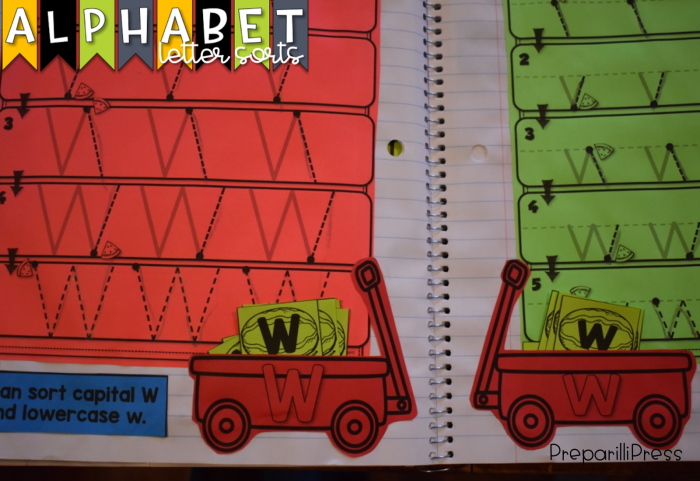
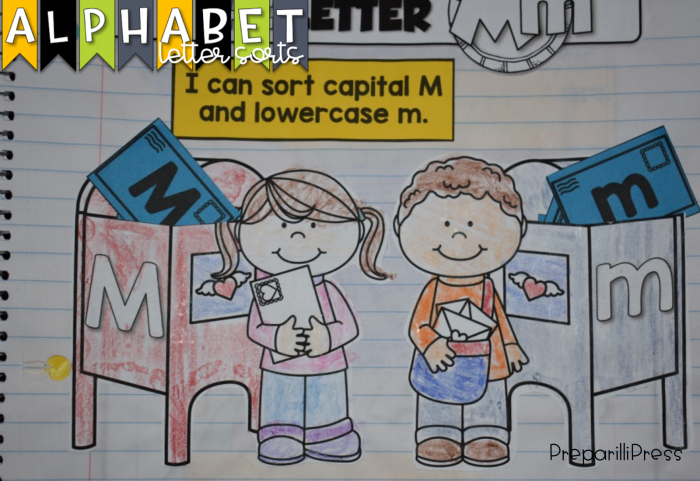
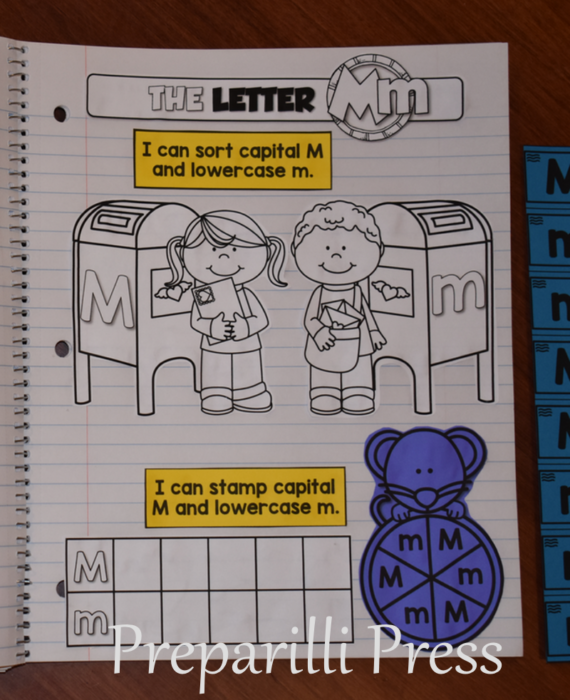
Now for some FUN! On the next sheet your students will compare the capital and lowercase letters by sorting and spinning/stamping them.
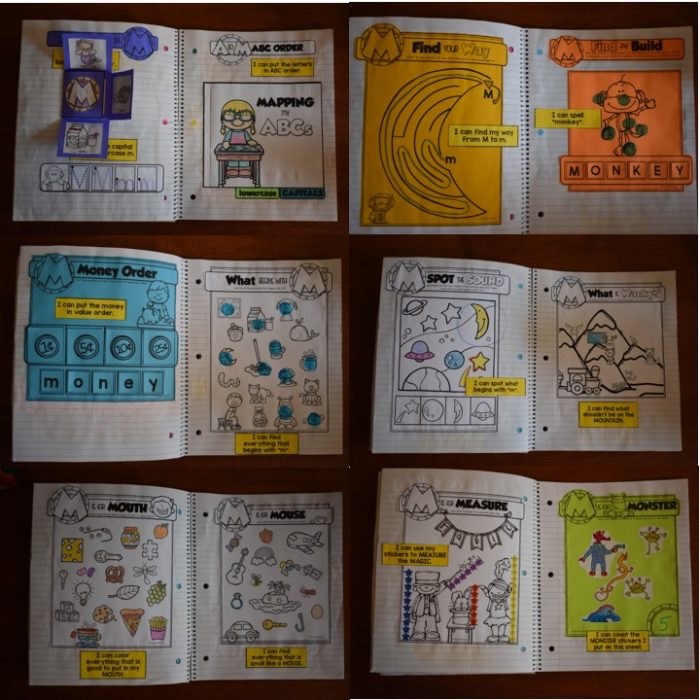
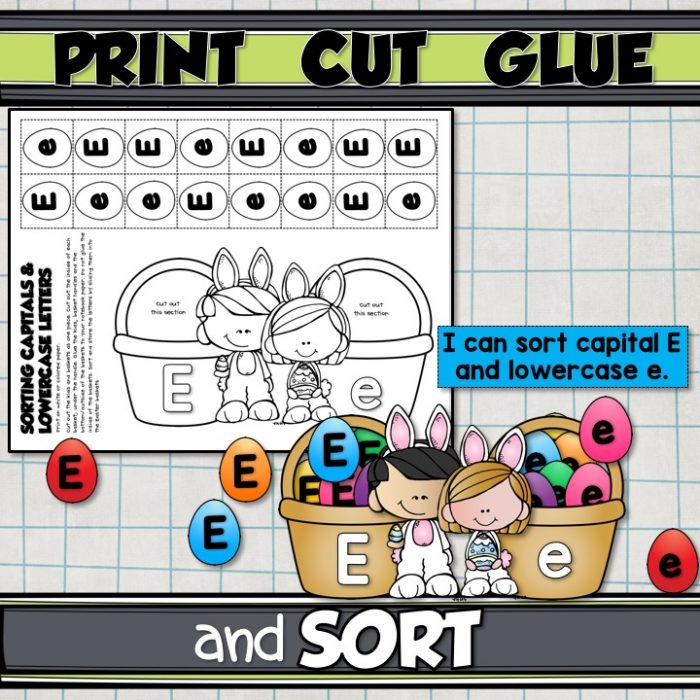
SHEET 11: Follow the directions on page 12 to cut out the letter sorting pieces. The Letter Sorting page will be different for each letter (to reinforce the beginning sound each letter makes–for M we chose “mail” and “mailbox”). But, you will always glue the pieces to make a sorting pocket. For this sheet, be sure to cut the top of the mailboxes on the line indicated and glue the top, around the sides, the kidlette, and bottom of the mailbox to your notebook. Do not glue the middle of the mailbox–this is your sorting pocket.
You will also need the “I can” statements for this sheet (page 11) and the spinner (page 13) and stamp frame (page 14). [These are located on different pages so you can alternate colors throughout the your notebook without double-printing individual pages.]
Here is SHEET 11 ready to use:
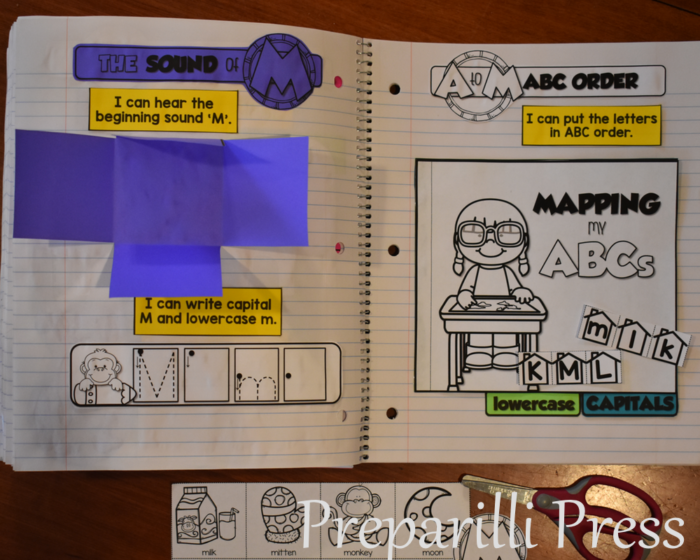
SHEET 12: Now we’ll work on the SOUND of M. Cut the petal book and header from page 13 and the remaining pieces from page 14 (plus the I CAN statements associated with these tasks from page 11). Your students should color the beginning sound pictures before cutting and pasting them. The petal book is easy to assemble. Simply fold inward along the dotted lines, until it looks like a square (or square-ish :). Glue the back of the petal book into your notebook.
Your page will look like this:
SHEET 13: (see above) This is our ABC Order sheet (pages 15-17, plus the I CAN statement from page 11 and the letter houses from page 8). Use color, or white paper, for the ABC Orders–I like to vary it from letter to letter.
Just like the Letter Sorting, the ABC Order will be specific to the letter you are working on. For Letter M we chose “map.” Additionally, the ABC Order will only include letters that precede the target letter–so this week we are reviewing A-M. Your students will only need to put the last 3 letters in order each week. If you’d like these sheets with all the letters A-M for your students to sort, you can find them here (coming soon!).
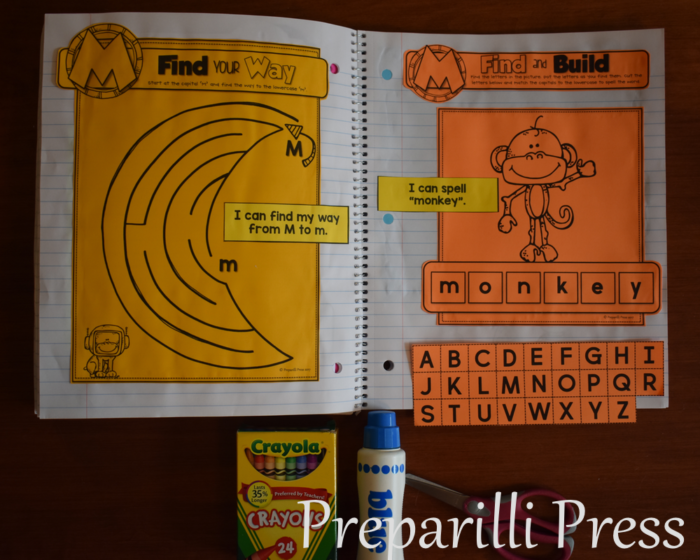
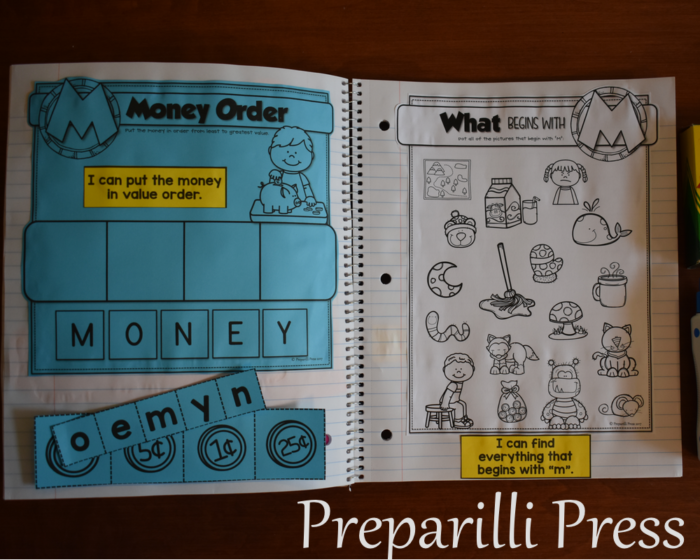
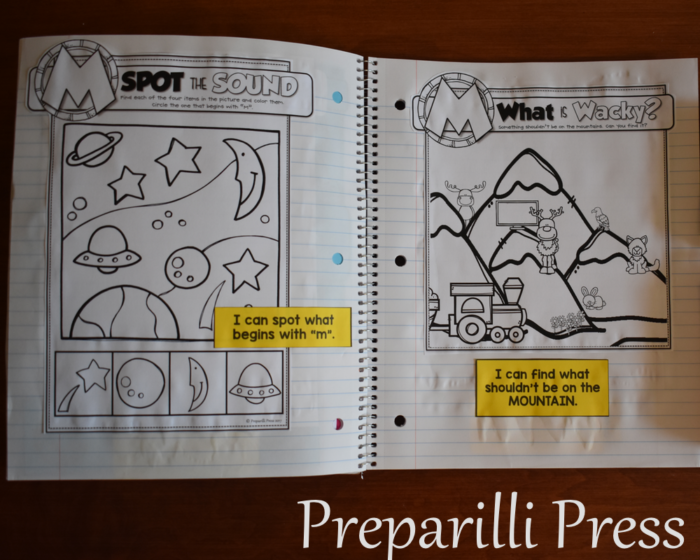
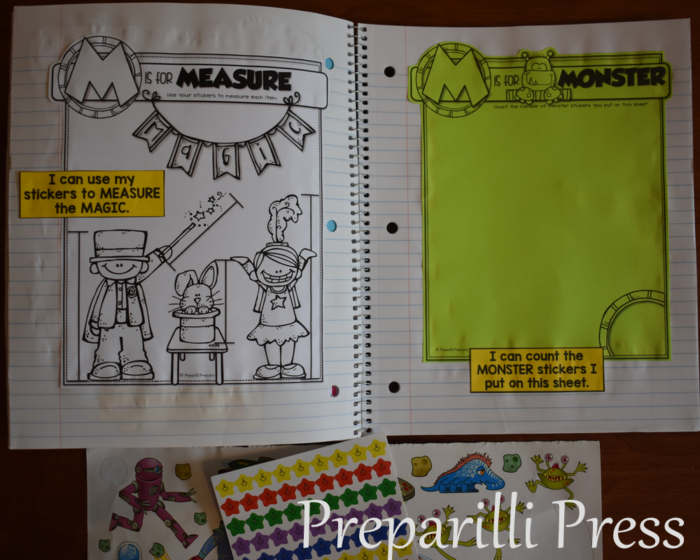
SHEETS 14-23: (pages 18-27) This section requires very little prep on your part. Most sheets will require you to simply trim the excess white space around the activity frame. The Find and Build sheet (page 19) and Order/Sequence sheet (page 20) are the only ones that will require you to cut out other pieces. It is also up to you what order you have your students complete this section. Here is how we set ours up:
These last two sheets we will use stickers to complete the activities.
Are you helping your students develop a solid understanding of phonemes–the sounds letters make, either alone or in concert with other letters? This is the year to do just that! In First Grade, students are introduced to so many new letter combinations and sounds it can be a bit daunting to teach. Today, I’m going walk you through our approach. We are aiming for comprehensive, cohesive instruction that encourages a LOVE for words + learning = great readers and spellers!
1. INTRODUCE the NEW PHONEME
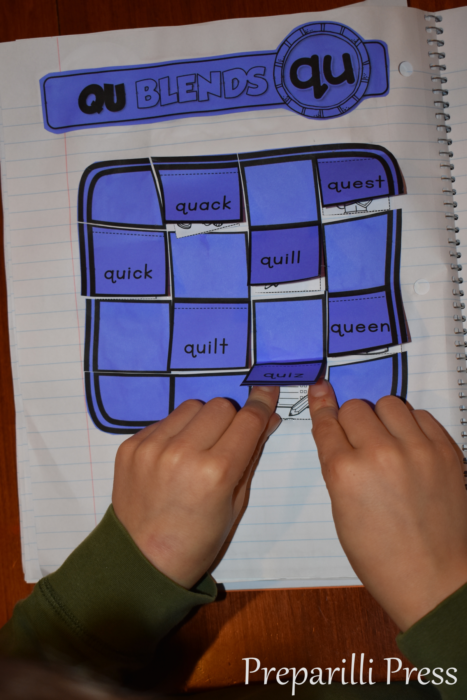
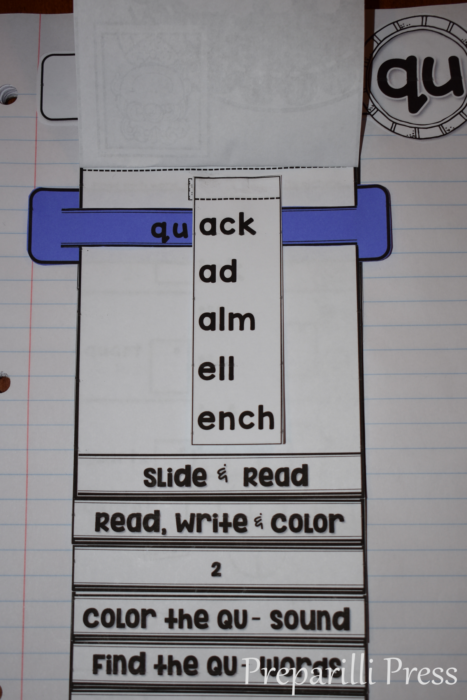
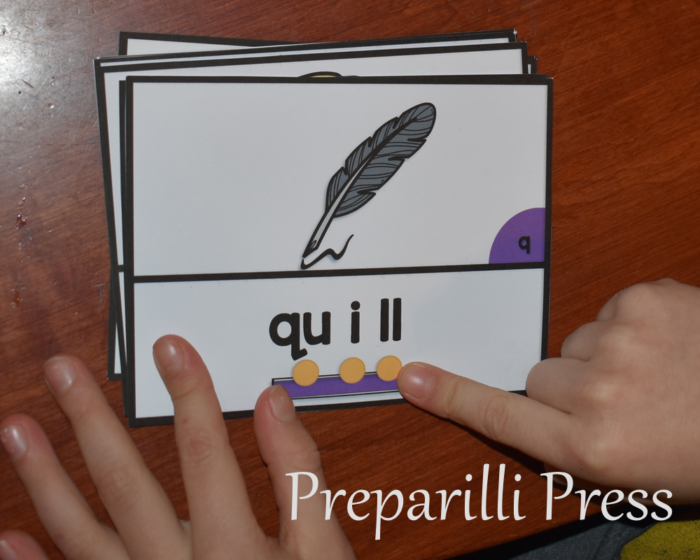
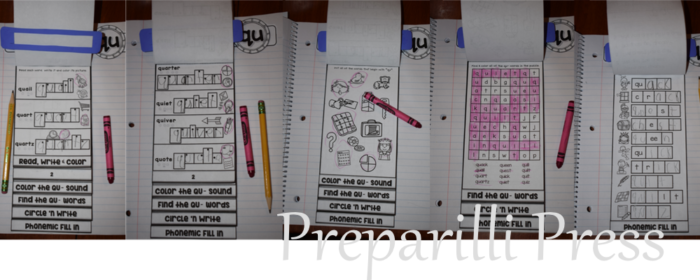
Most of your students will be familiar with the QU digraph (it isn’t a literal digraph, but for arguments sake, lets just call it one :). They are familiar with the QU pairing (Q is always written with U). But, take the time to review all of the words they can already read with this digraph. We began by matching pictures to their words on the quilt (in our Interactive Phonemic Notebook). We also used a QU slider (from our QU flapbook) and segmenting and blending cards.
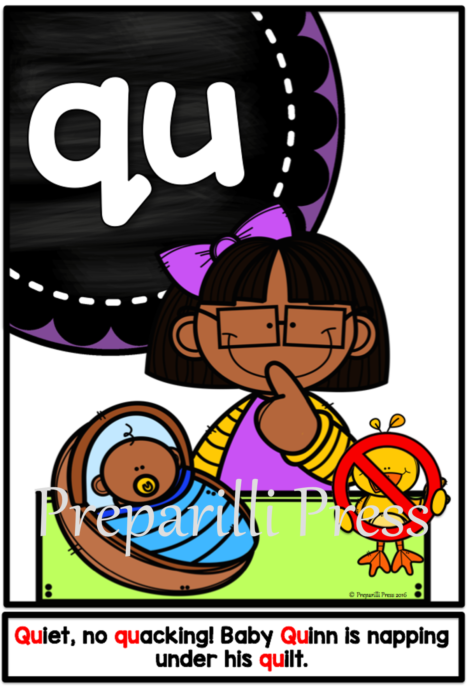
2. MAKE a PHONEMIC POSTER
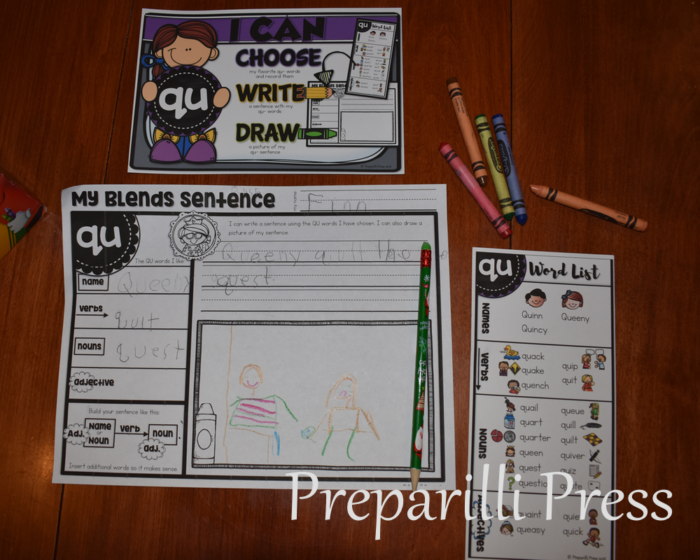
This is a FUN way to get your students using new sounds and working on alliteration. I always have my own poster ready (I’ve made a new one for QU), but BEFORE I show it to them, I have my kids make their own. This is how we do it:
I give them a graphic word list (the words are categorized by names, verbs, nouns and adjectives) and ask them to pick their favorites and write them down on the My Blends Sentence sheet. Then, they follow the formula to make a sentence and draw a picture to demonstrate it. Once they are finished, we go over their blends sentences and I show them mine:
3. TIME to DEVELOP YOUR PHONEMIC MUSCLES
Next, we jump back into our Interactive Phonemic Notebook and learn new words (the new words are also presented on the Segmenting/Blending Cards). We will read, write, recognize, and segment them.
This is a great time to review other words (with blends and digraphs recently mastered) that rhyme with the target sound (QU) words.
4. PHONEMIC SPELLING and ABC ORDER
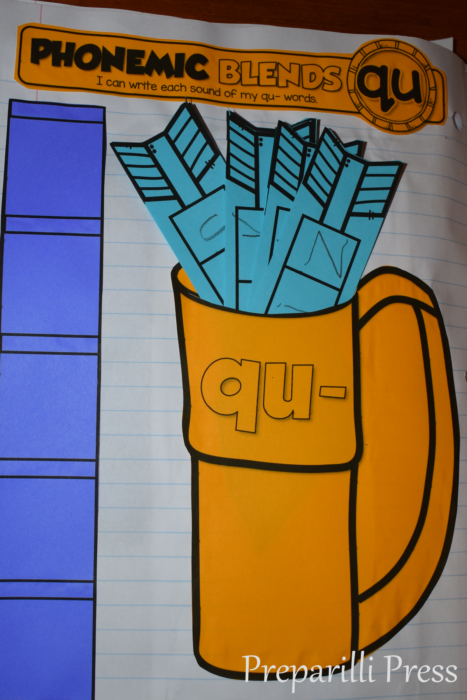
Now its it time for phonemic spelling–using the words your students can sound out (recalling blends and digraphs already learned). We make it FUN with Phonemic Strips (the arrows in the picture) and a place to store them (the quiver).
We use the Phonemic Strips to practice alphabetical ordering. This is a nice challenge since all of the words we are working with this week begin with QU. The sliders help to hold each word in place. Once the order is correct, the words are recorded.
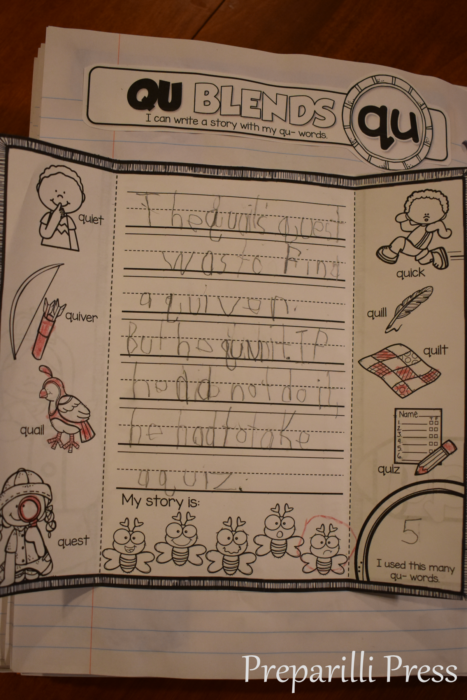
5. BLEND ME a STORY
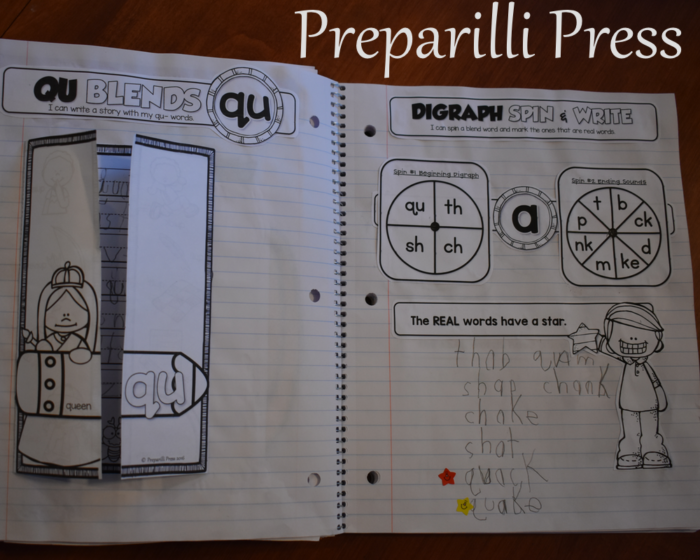
Now that your students can recognize so many new words, they should use them. Writing a quick story focusing on the target blend (QU) is a FUN way to do just that.
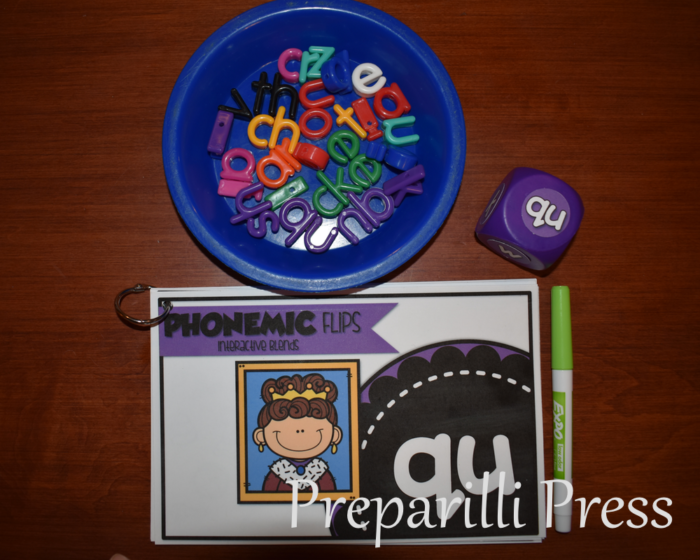
6. SHOW ME what YOU KNOW {PHONEMIC FLIPS}
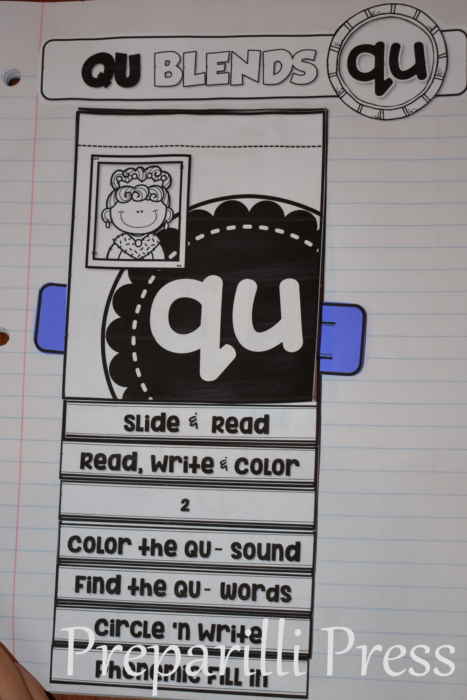
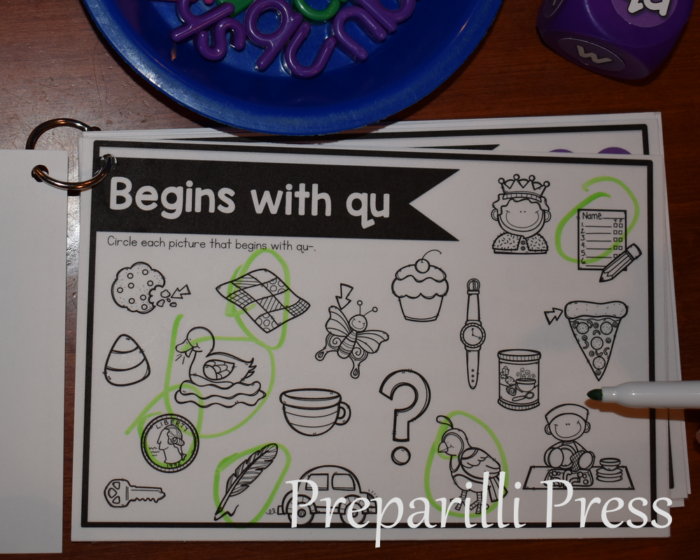
After all of the great word work your students have done with QU it is time for them to have some FUN showing you what they know. They will do this with the QU Phonemic Flips.
With this interactive blends booklet, they will use a dry erase marker, a blending dice–I like using foam dice :), but you can easily build the blends dice included in the pack–and lowercase letter manipuatives. I know a lot of you are fans of the magnetic letters. You are welcome to use these instead of the lacing letters we use. {Flip}
Circle all of the pictures that begin with the target sound (he circled “question” after I took the photo :). {Flip}
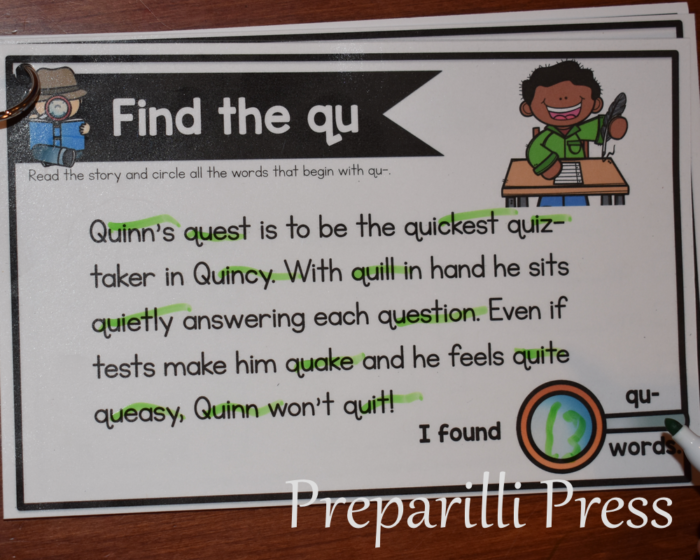
Read the passage and find all of the words that begin with QU. I try to keep these stories as simple (and funny) as possible; but your students will need help with a few of the words (i.e. taker, answering, question, queasy). {Flip}
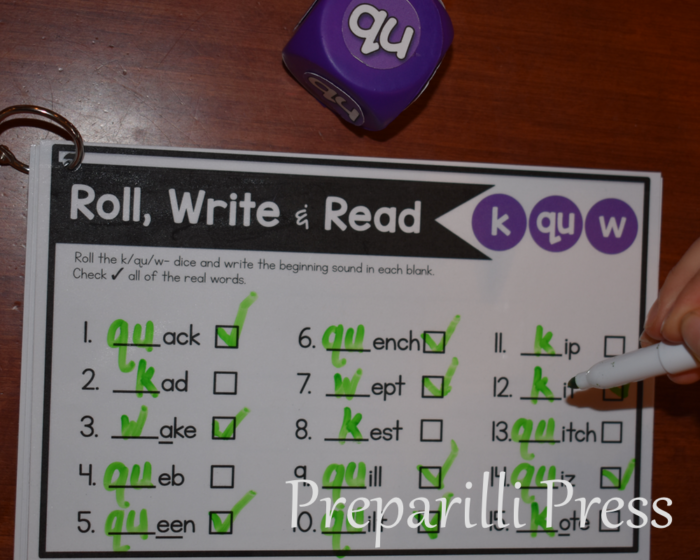
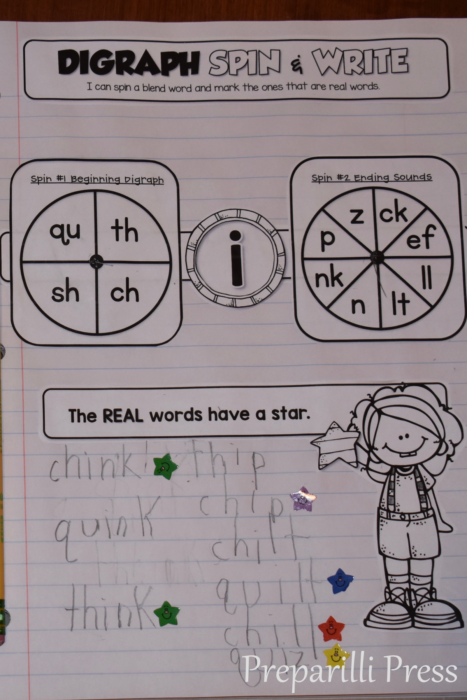
Now its time to use the dice (this is my kids’ favorite task–it turns into quite a game). This is where you’ll be able to assess the strength of your students’ phonemic muscles. They will roll either a K, QU or W and write it in the blank. Then sound out the word and decide if it is real, or not. Only real words receive a check mark. {Flip}
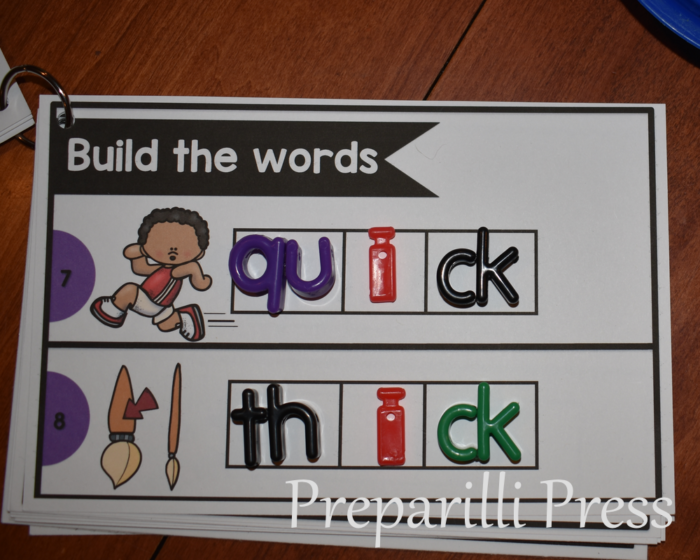
Using the letter manipulatives, your students will build the words we have worked on all week, phoneme-by-phoneme. One thing I like to do at this stage of word development (which you might not be used to 🙂 is link the letters together that make the new phonemes (I heart glue dots). So, in this photo the QU, CKs and TH are glue-dotted together. This is a simple technique that will help your students recognize that these letter pairs stick together to make the new sounds they are learning. And the great thing about glue dots is they hold tight, but are easy to remove. As your students’ phonemic learning progresses, the glue dots disappear. {Flip, flip, flip, flip, flip–there are 20 words in this section}
7. REVIEW THOSE DIGRAPHS and BLENDS
Great readers and spellers don’t develop overnight, so reviewing what is learned is always helpful. We like these word building exercises (they are a part of our Interactive Phonemic Notebooks–pictured next to the QU story).
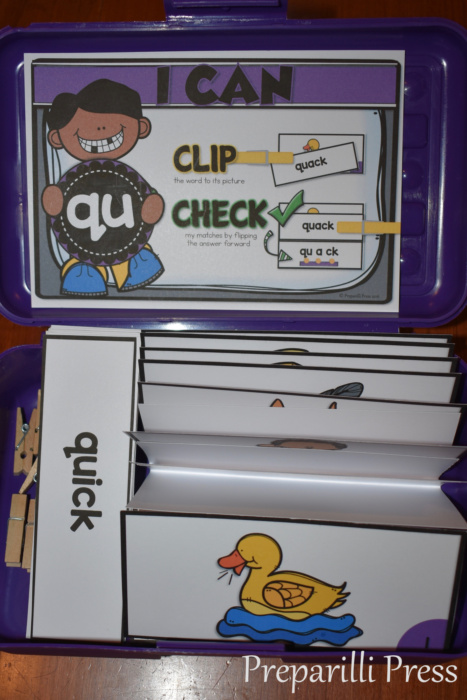
And this PENCIL BOX independent work center:
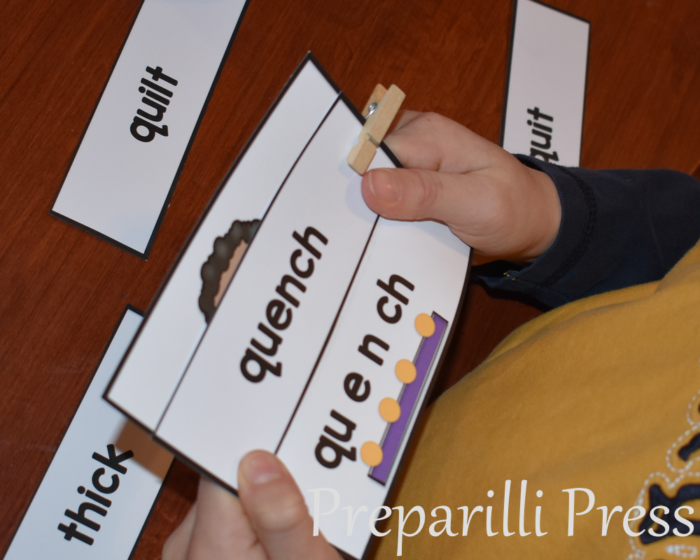
Simply take the segmenting/blending cards and fold them along the mid-line:
Using clothespins, your students will attach the word to each picture and then self-check, flipping the segmented word forward to match the word they have attached.
So, that is how we do it! What do you think? Are you ready to dive into phonemic instruction & word building?


 Actually, we ended up with 3 notebooks filled with A to Z work! They are going to be such a GREAT starting point for kindergarten. I know you will love using them with your students!

 These last two sheets we will use stickers to complete the activities.