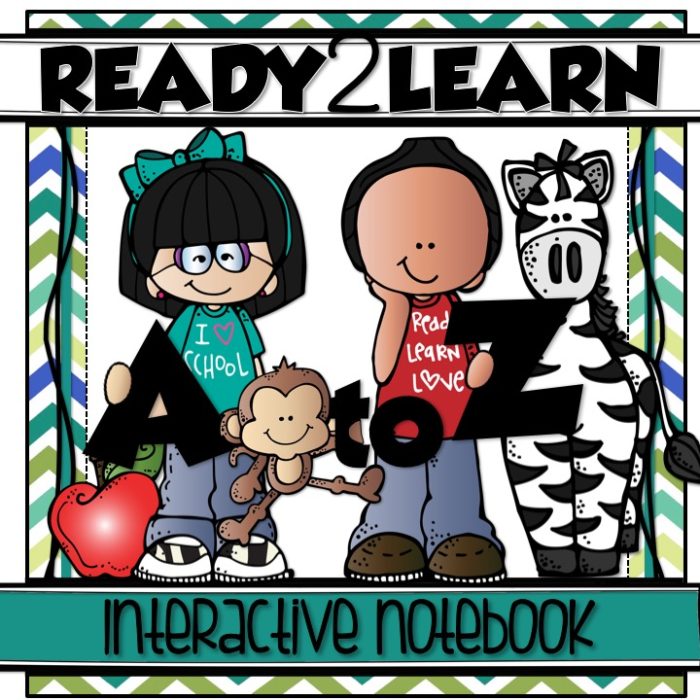
The growing bundle is here! It includes all of the letters completed (A to X) and an editable cover page for your interactive notebooks. Letters Y and Z will be added in September.
If you haven’t downloaded your free sample {Letter M}, you can get it here. There is also a tutorial that will help you put it all together.
You are going to love the strong phonics foundation that MY FIRST A to Z INTERACTIVE NOTEBOOK helps you provide your students. Your students will not only enjoy building each page and making it “theirs” by adding color and their creativity, but they will also love going back and reviewing their completed pages and therefore reinforcing what they have learned.
Interactive notebooks help you cut the clutter in your classroom. When your students practice and reflect on phonics and the alphabet in one location, it allows them to be organized. You won’t lose or misplace their work, and they will benefit from the chance to reflect (and interact with) all they learn.
This bundle will be listed at half-off through Wednesday!
Actually, we ended up with 3 notebooks filled with A to Z work! They are going to be such a GREAT starting point for kindergarten. I know you will love using them with your students!
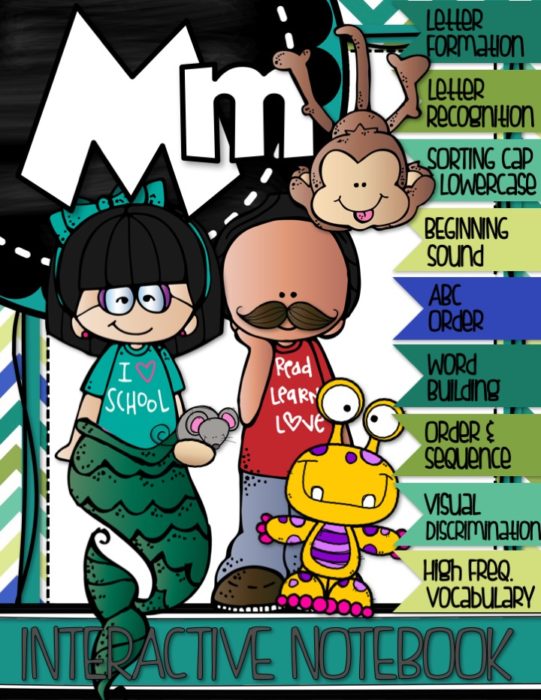
For each letter your students will practice:
Correct letter formation (uppercase and lowercase writing)
Letter recognition
Sorting lowercase and uppercase
Beginning sounds (including long and short sounds for each vowel as well as hard and soft sounds for C and G).
Using high frequency vocabulary that begins with the target letter
ABC order up to the target letter
Word building with lowercase and uppercase letter matching
Order and sequence
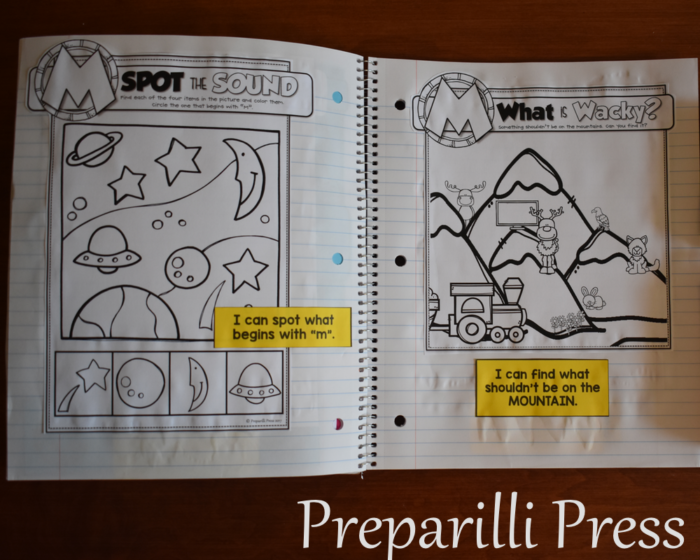
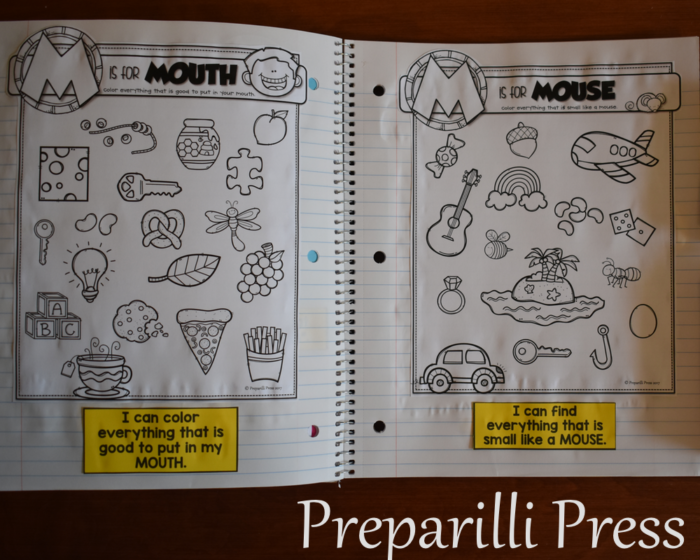
Visual discrimination (identifying items that begin with the correct sound; are found in a particular place; are a particular size or shape; or simply do not belong).
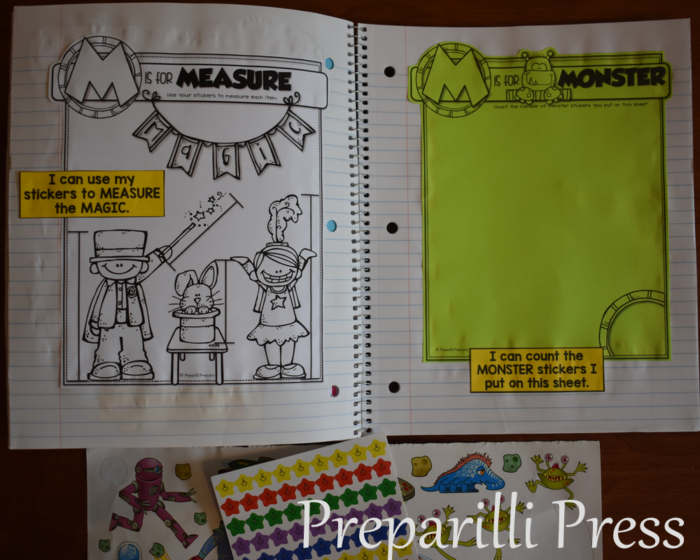
Using stickers to accomplish simple beginning target letter sound tasks
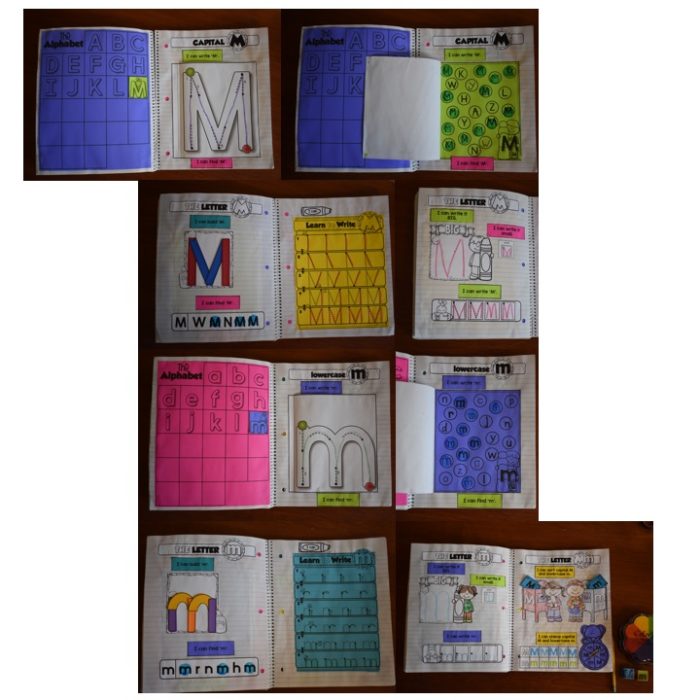
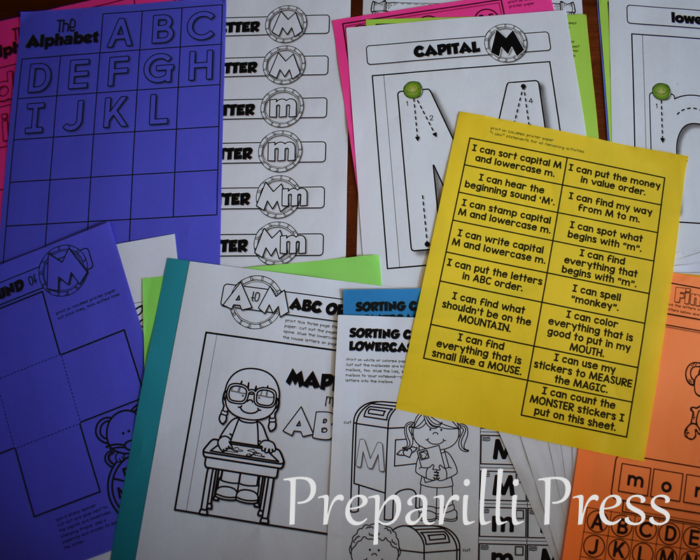
Here is how we put our notebook together. We’ll use the printables for Letter M (download a free copy of these printables here).
Every pack is formatted similarly to Letter M. Certain pages work best on plain paper, and others on colored. I have noted our preferences on each sheet, but you are welcome to use colored paper, or not.
CAPITAL M: After printing this section, pages 2-3, 5-8 (including the Letter M Headers and TOC) cut out each part:
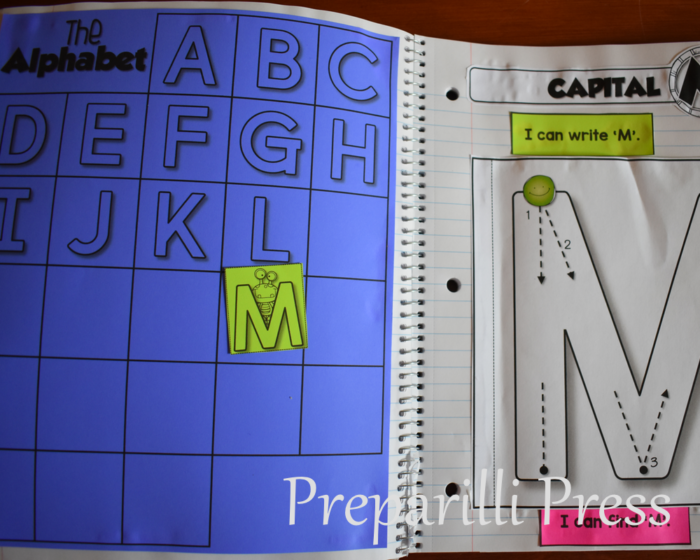
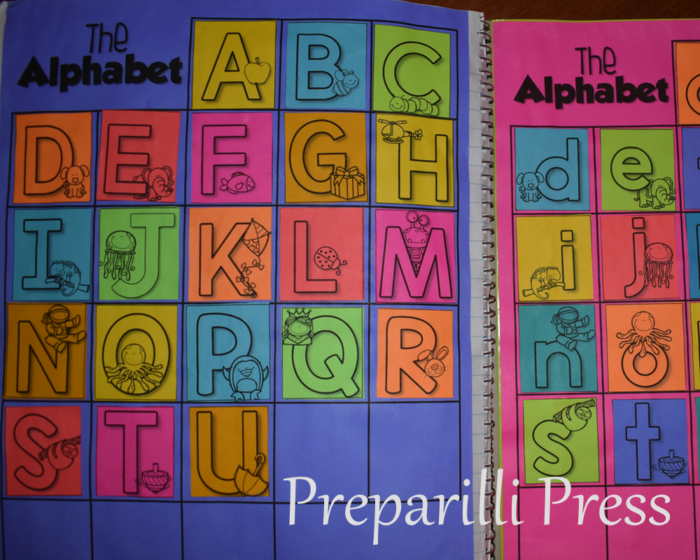
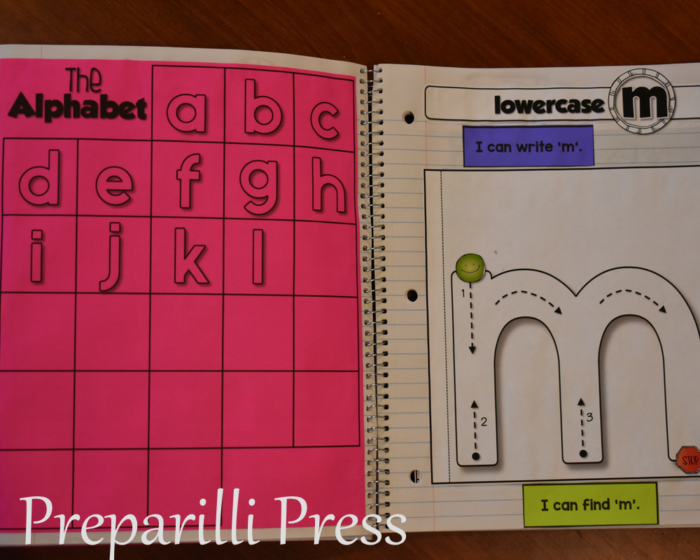
SHEET 1: If you plan on using only the Letter M pack, the capital letter Alphabet Poster will be the first page in your notebook. Trim the edges to fit, and glue the outside edge of this sheet to your notebook.
If you plan on completing all 26 weeks, glue both blank Alphabet Posters (from the Letter A pack) inside the back cover of the first notebook and refer back to it each week you add a new letter.
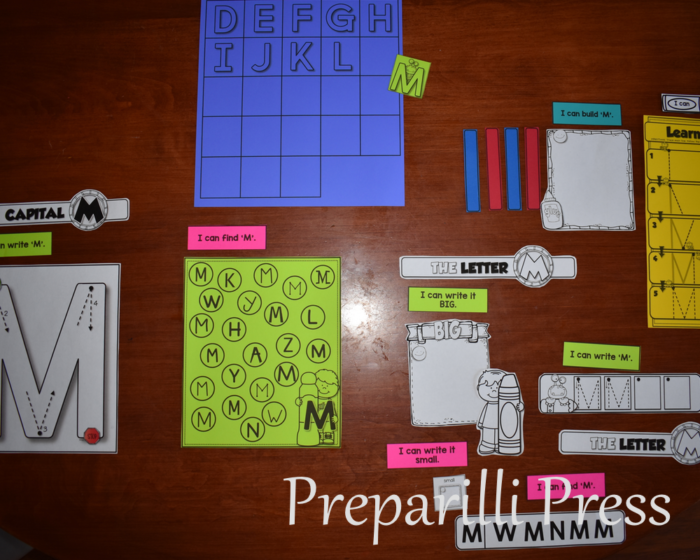
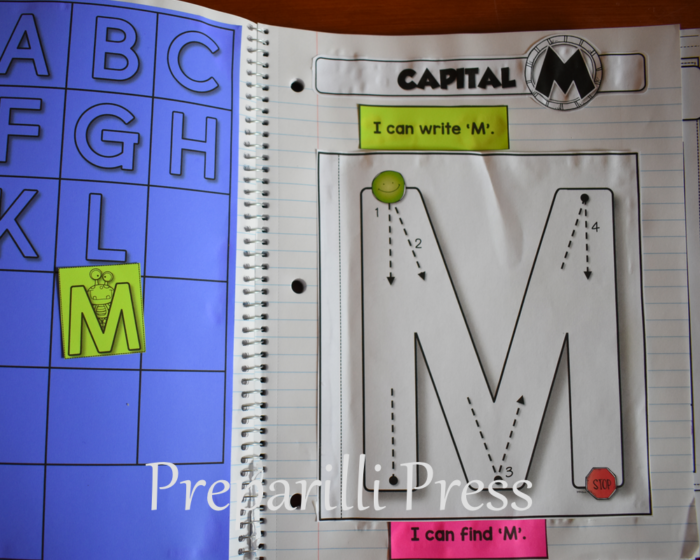
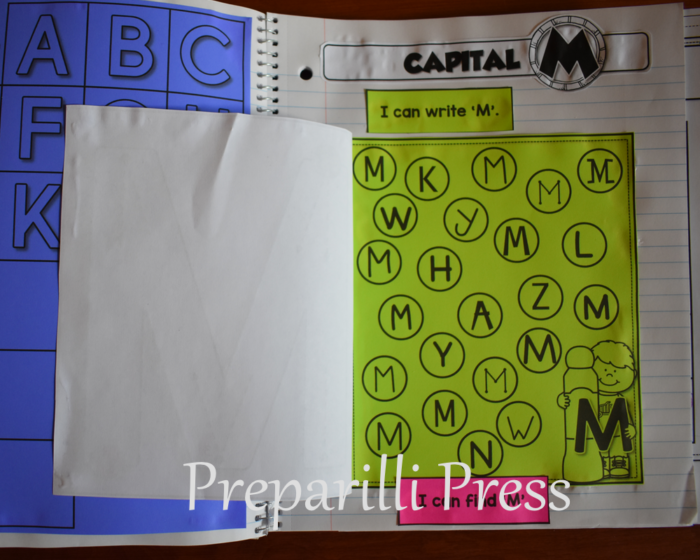
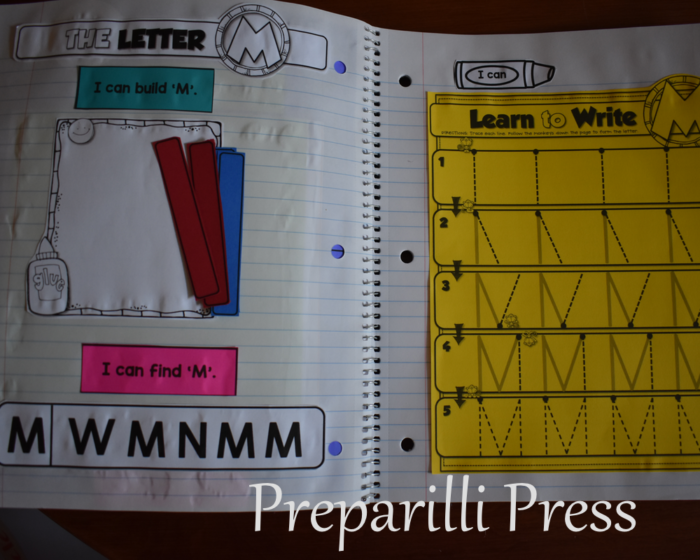
SHEET 2: (pages 6-7 in the pack)To introduce Letter M we will use a Correct Letter Formation flap and a Letter Recognition frame. Here it is ready to use:
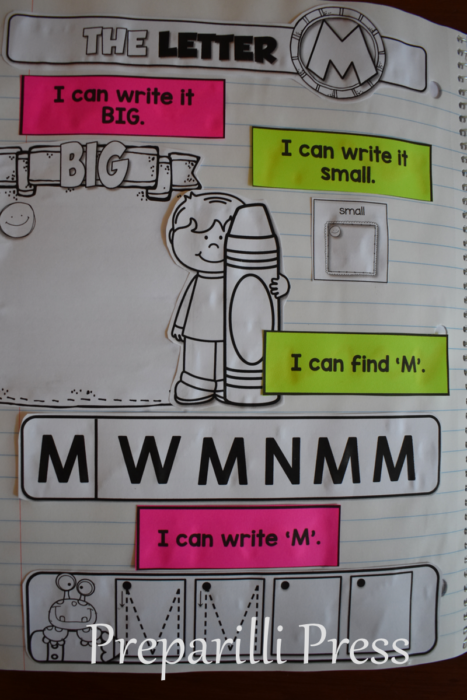
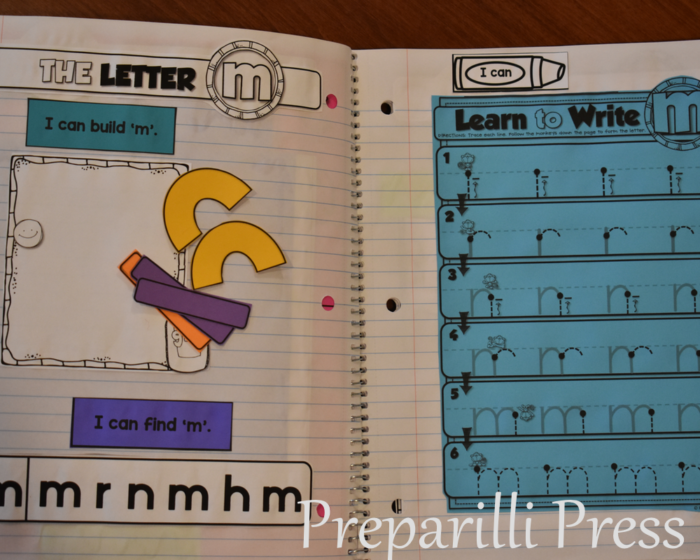
SHEETS 3 and 4: (pages 7-8 in the pack) There are two options for this sheet. We like to practice building the letter, with colored shapes similar to the Handwriting Without Tears wood pieces. Then practice finding the capital again, before we work on correctly writing it. So, our pages look like this:
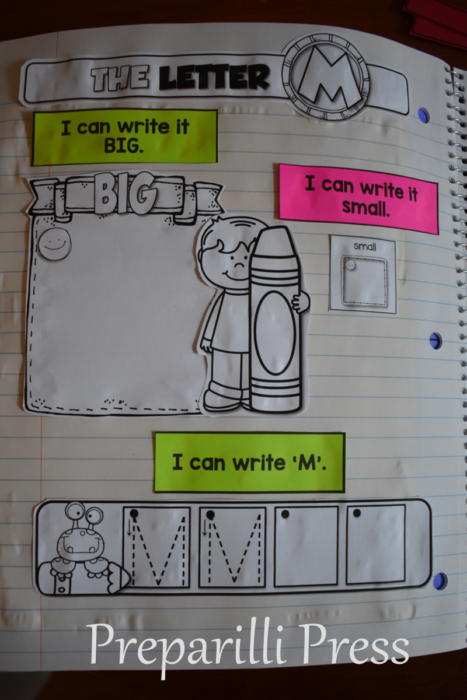
This set-up includes the Letter M sheet from Step by Step Correct Letter Formation and letter building tiles and the “I can build it” frame (soon to be published). You can also set SHEET 3 up without the extras like this:
The combined set-up above, for students who do not need the extra practice of correctly forming the letter, includes pieces from our SHEET 5:
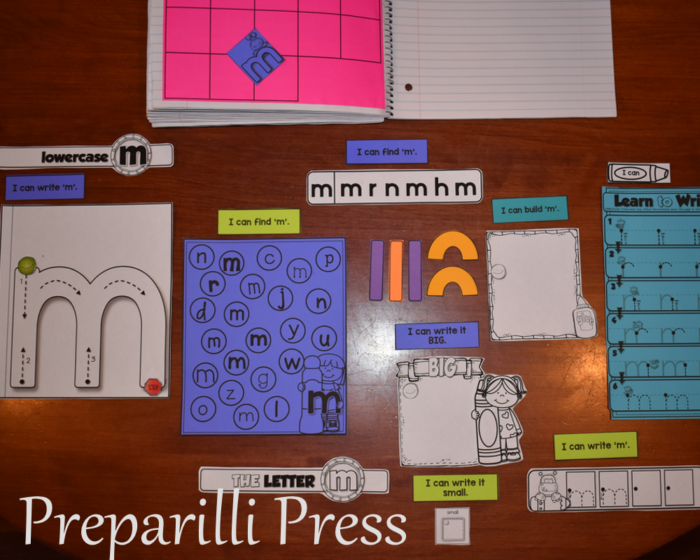
The Capital M section is complete. Lowercase M is a mirror of this section. We’ll use the figure from the TOC and pages 4, 5, and 8-10:
SHEETS 6-10: Here is the notebook ready to use (with the letter building activities included):
The alternative SHEET 8, using only the components from My First Interactive Notebook-Letter M looks like this:
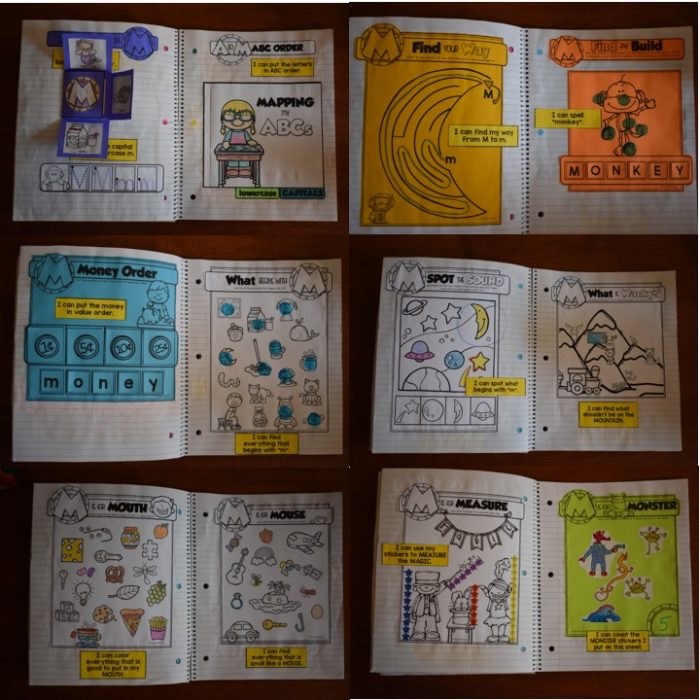
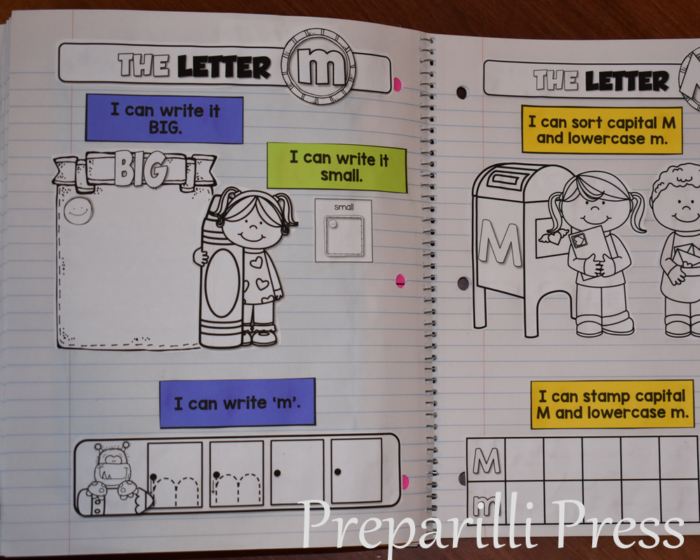
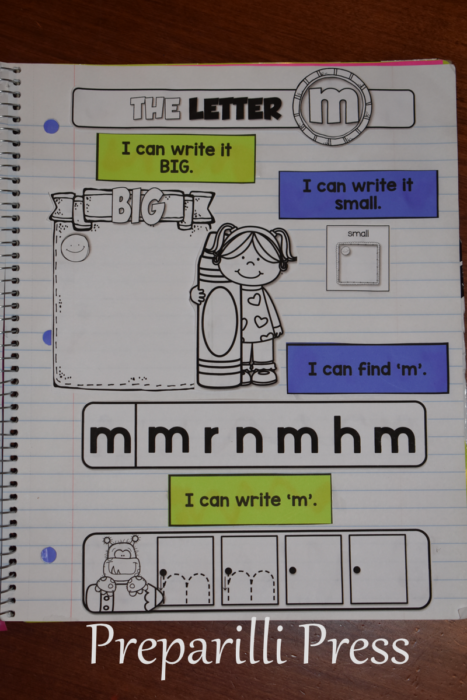
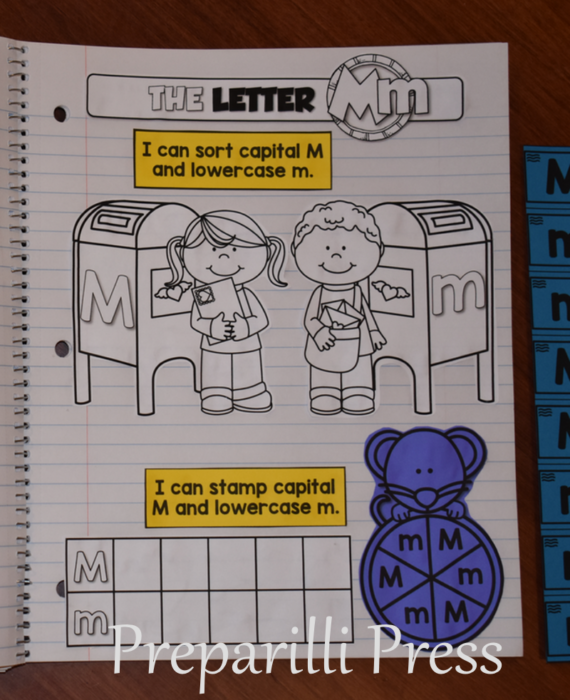
Now for some FUN! On the next sheet your students will compare the capital and lowercase letters by sorting and spinning/stamping them.
SHEET 11: Follow the directions on page 12 to cut out the letter sorting pieces. The Letter Sorting page will be different for each letter (to reinforce the beginning sound each letter makes–for M we chose “mail” and “mailbox”). But, you will always glue the pieces to make a sorting pocket. For this sheet, be sure to cut the top of the mailboxes on the line indicated and glue the top, around the sides, the kidlette, and bottom of the mailbox to your notebook. Do not glue the middle of the mailbox–this is your sorting pocket.
You will also need the “I can” statements for this sheet (page 11) and the spinner (page 13) and stamp frame (page 14). [These are located on different pages so you can alternate colors throughout the your notebook without double-printing individual pages.]
Here is SHEET 11 ready to use:
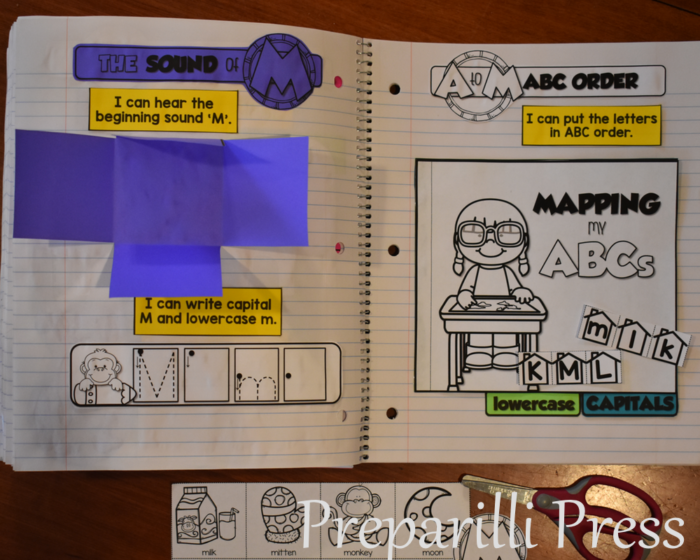
SHEET 12: Now we’ll work on the SOUND of M. Cut the petal book and header from page 13 and the remaining pieces from page 14 (plus the I CAN statements associated with these tasks from page 11). Your students should color the beginning sound pictures before cutting and pasting them. The petal book is easy to assemble. Simply fold inward along the dotted lines, until it looks like a square (or square-ish :). Glue the back of the petal book into your notebook.
Your page will look like this:
SHEET 13: (see above) This is our ABC Order sheet (pages 15-17, plus the I CAN statement from page 11 and the letter houses from page 8). Use color, or white paper, for the ABC Orders–I like to vary it from letter to letter.
Just like the Letter Sorting, the ABC Order will be specific to the letter you are working on. For Letter M we chose “map.” Additionally, the ABC Order will only include letters that precede the target letter–so this week we are reviewing A-M. Your students will only need to put the last 3 letters in order each week. If you’d like these sheets with all the letters A-M for your students to sort, you can find them here (coming soon!).
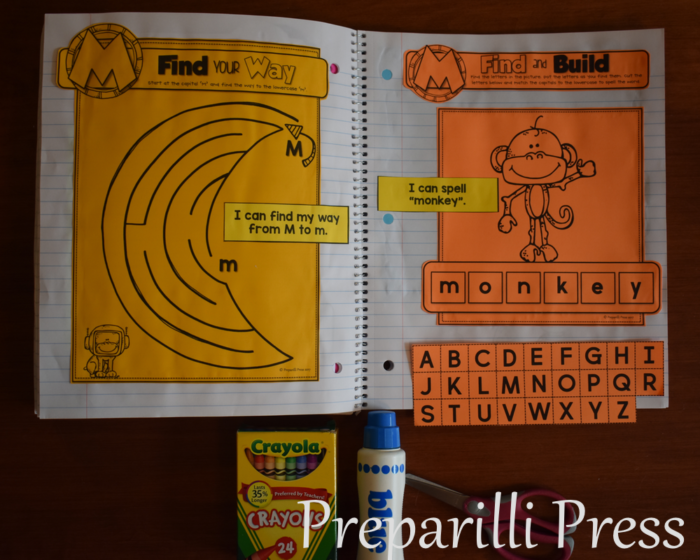
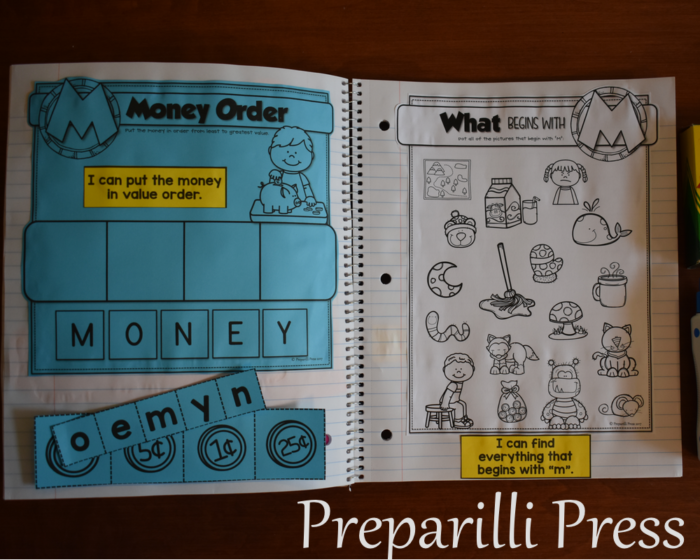
SHEETS 14-23: (pages 18-27) This section requires very little prep on your part. Most sheets will require you to simply trim the excess white space around the activity frame. The Find and Build sheet (page 19) and Order/Sequence sheet (page 20) are the only ones that will require you to cut out other pieces. It is also up to you what order you have your students complete this section. Here is how we set ours up:
These last two sheets we will use stickers to complete the activities.
We have really enjoyed our years of teaching Sonlight’s American History to our fourth graders. It is a wonderfully rich curriculum. I am sure you can agree that the books are some of the best you have read with your children. But, do you struggle getting your kids to compete their weekly writing assignments?
I’ve been there! Don’t give up the fight. Instead, give your kids the tools they need to succeed at writing. I am excited to share with you some great supplements that will help your children accomplish their work independently. In our home of eight children, independent seat-work is essential (to my sanity :)!
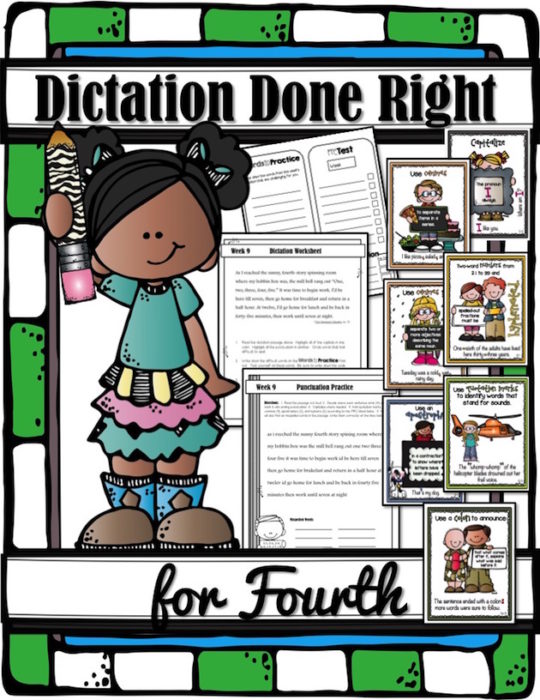
DAY 1–Tackle Dictation (and make it meaningful) with Dictation Done Right for Fourth
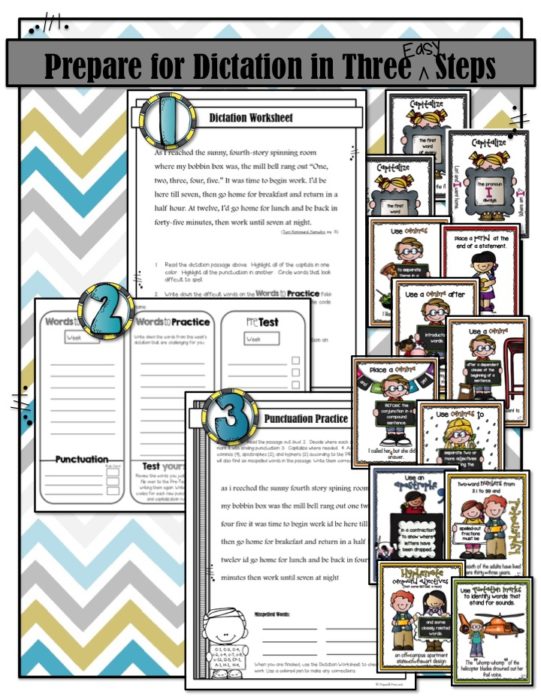
I have found the three-step method of Dictation Done Right to work well for my children. It helps them to get the most out of dictation–and to understand why and when they need to punctuate or capitalize a word.
Days 2-4
Day 2–Learn a Literary Style or Technique
Each week your kids (or you, if you are reading the Instructor’s Guide) will be given a literary concept to instruct/practice and then apply to that week’s writing assignment. This is where your week of writing might start to fall apart before it has even truly begun. Are your kids understanding what the activity sheet is trying to teach them? Probably not.
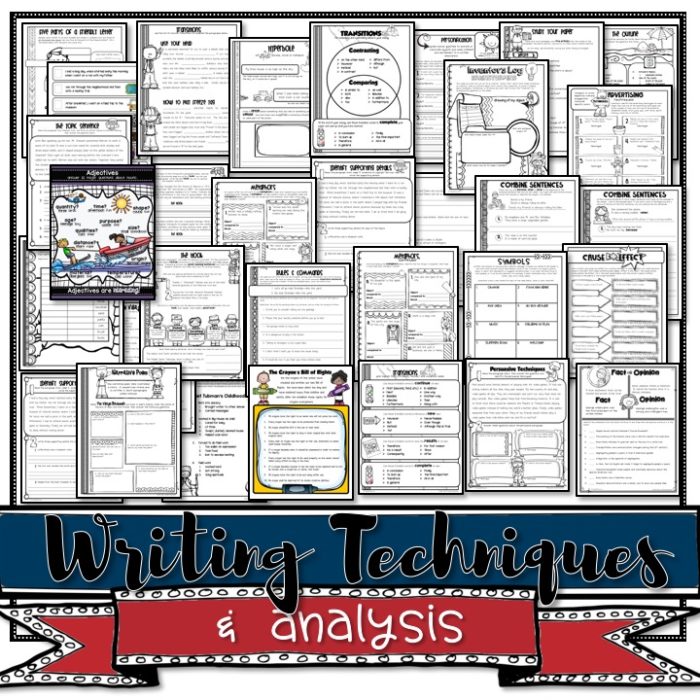
In addition to these Writing Techniques and Analysis sheets that you will use on Day 2:
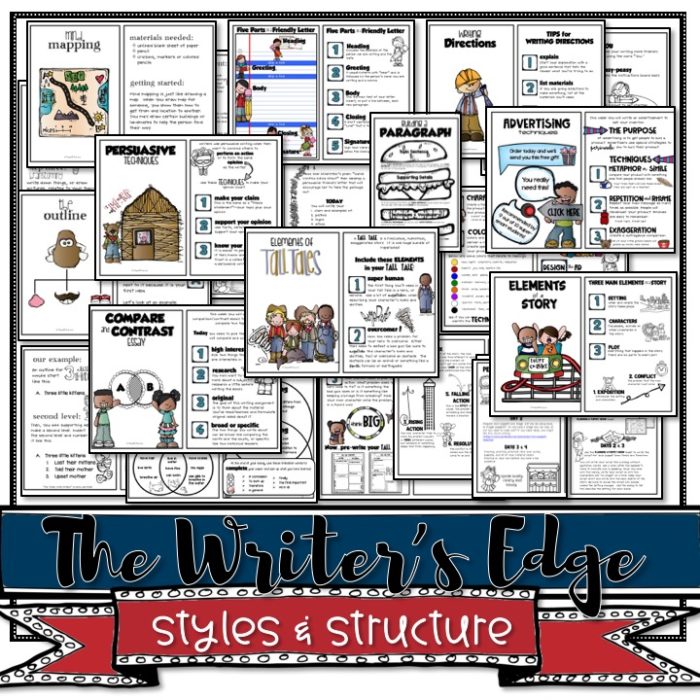
I have put together a new independent teaching tool called The Writer’s Edge. It will help you explain each literary styles and technique. Your kids will refer back to it for years to come!
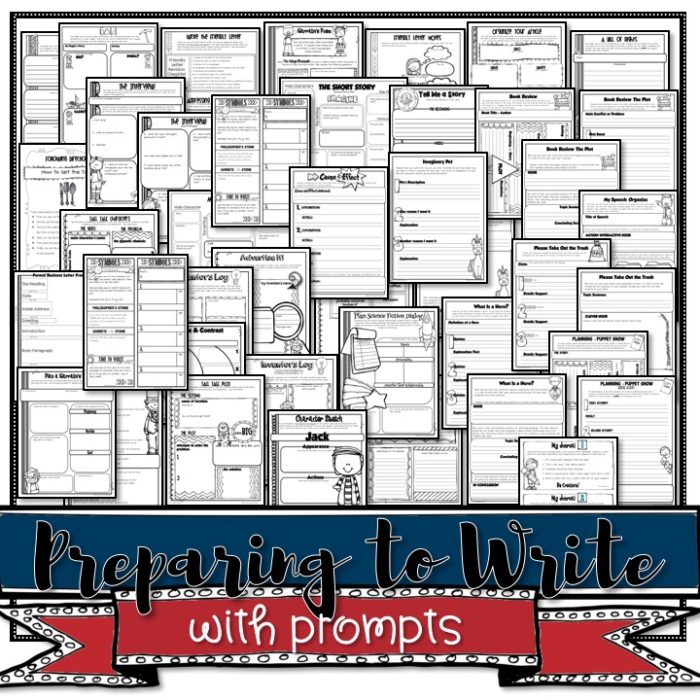
DAY 3–Prepare to Write
This is the day you ask your kids to plan their approach to the essay, story or paragraph they will be writing on Day 4. And maybe, just maybe, you have a wonderfully diligent child who likes to mind map, brainstorm and outline her papers before she writes. Or, you might have a bunch of kids like mine who think writing should be done “on the fly” when “they feel like it.” Probably your kids are somewhere in between. I’m hoping to help you improve their diligence by giving them the tools they need to get those creative juices flowing and get their work organized so they can write on Day 4.
This year we are focusing on forming coherent paragraphs. I think these tools are some of the best I have used–I hope you will, too!
DAY 4–Let’s Write!
With each independent writing assignment, your students will be given prompts to help them use the pre-writing they completed on Days 2-3. They will also have a checklist at the end of each paper, asking them to review their work (an essential writing skill most kids want to skip :).
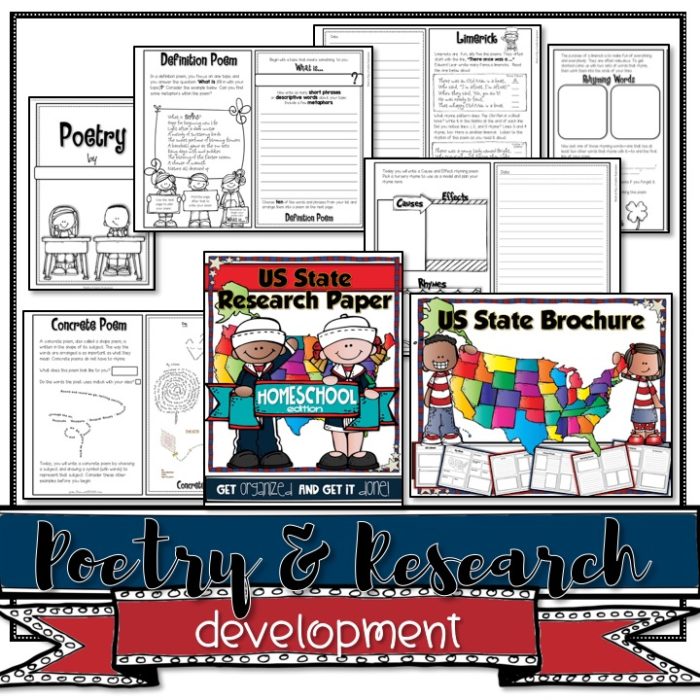
There is also a poetry booklet, research paper and travel brochure that they will complete this year with just a bit of preparation and coaching from you.
Your kids are going to be so proud of all the writing they accomplish this school year. And I am certain you will be thankful you had these resource to help you instruct them!
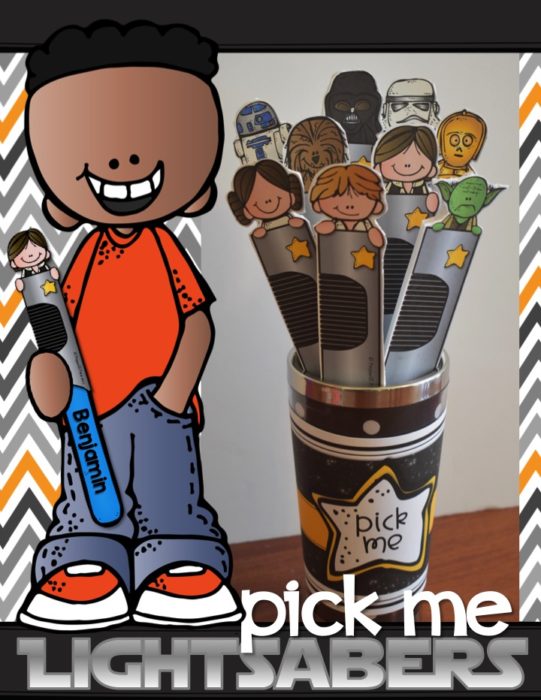
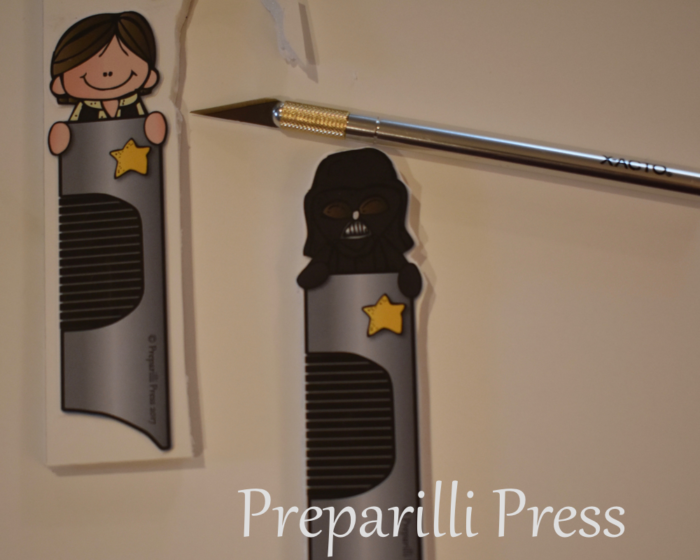
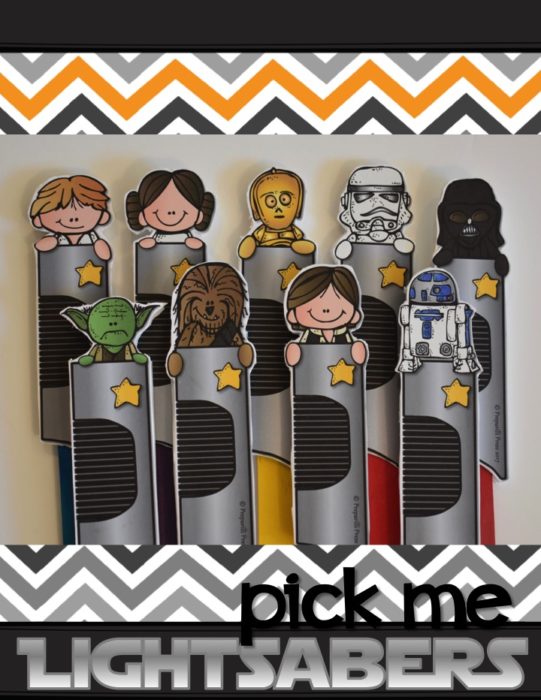
These “Pick Me!” lightsabers are a fun addition to your name choosing system. Simply print the figures and hilts on cardstock, (laminate, if desired) and cut them out leaving a little white space around the outside. Glue them to the backing of your choice–I picked foam-core. Next, cut the figures out with an X-ACTO knife.
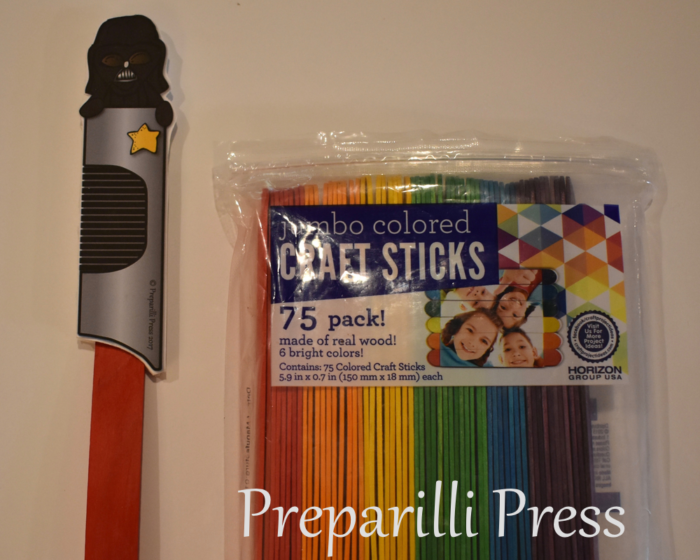
Now, you’ll add the lightsaber blade–I used jumbo craft sticks. Secure them with some glue, or a couple of glue dots. You can write your students’ names on the craft sticks, or print and attach labels.
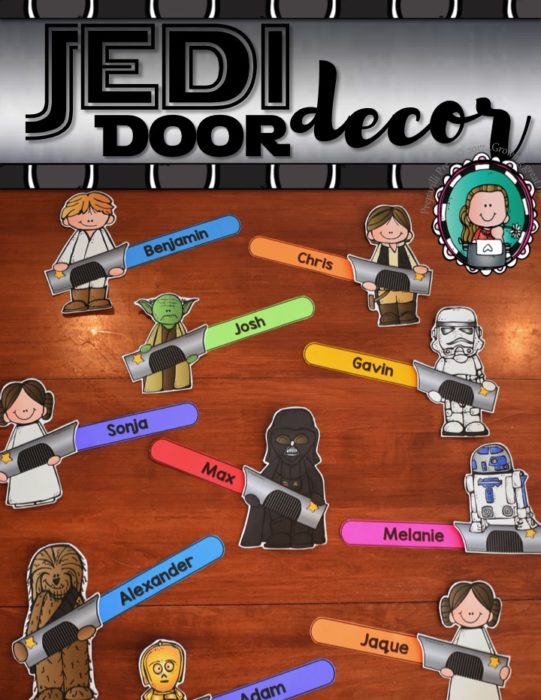
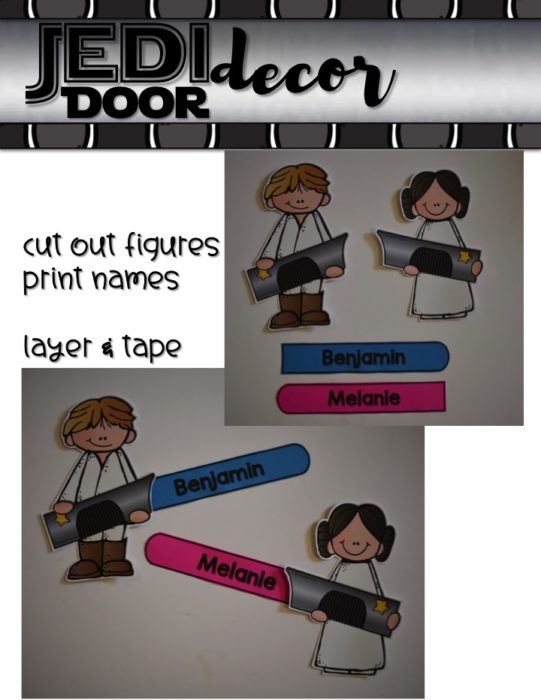
How cute will your classroom door be with these guys on it?
Print the characters (left and right facing figures included for each) on cardstock and laminate, if desired.
Using the editable file, type your students’ names on the lightsaber blades. Then print them on your favorite paper (I used a variety of Astrobrights). Cut and slide the blades behind the hilts.
Enjoy the cuteness! Both sets are 50% off for the next 48 hours!

 The growing bundle is here! It includes all of the letters completed (A to X) and an editable cover page for your interactive notebooks. Letters Y and Z will be added in September.
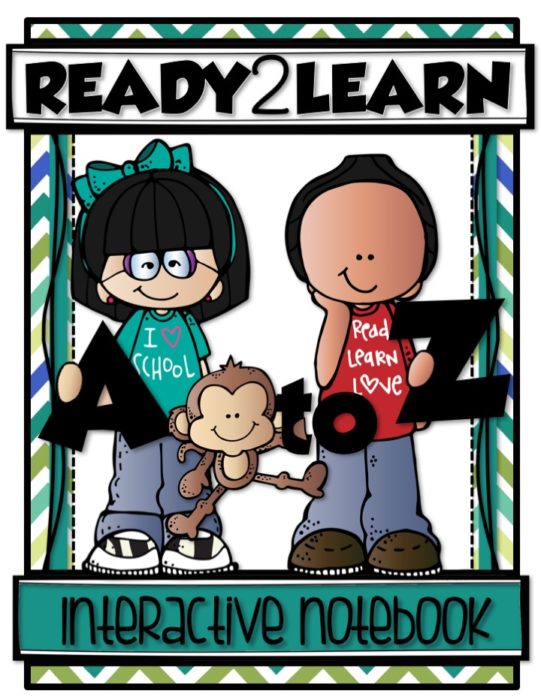 Actually, we ended up with 3 notebooks filled with A to Z work! They are going to be such a GREAT starting point for kindergarten. I know you will love using them with your students!

 These last two sheets we will use stickers to complete the activities.