Are you helping your students develop a solid understanding of phonemes–the sounds letters make, either alone or in concert with other letters? This is the year to do just that! In First Grade, students are introduced to so many new letter combinations and sounds it can be a bit daunting to teach. Today, I’m going walk you through our approach. We are aiming for comprehensive, cohesive instruction that encourages a LOVE for words + learning = great readers and spellers!
1. INTRODUCE the NEW PHONEME
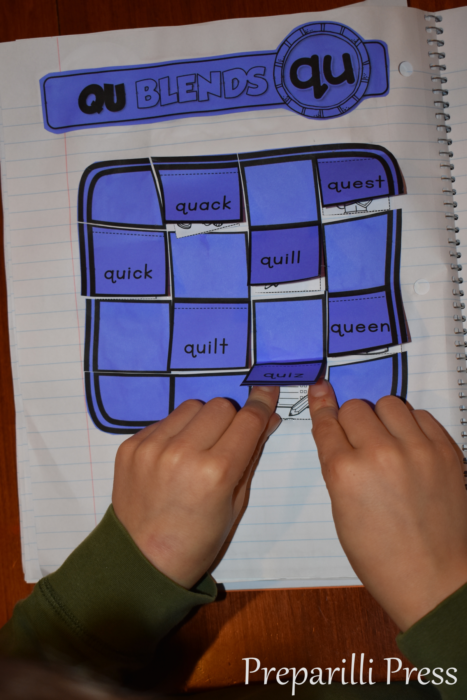
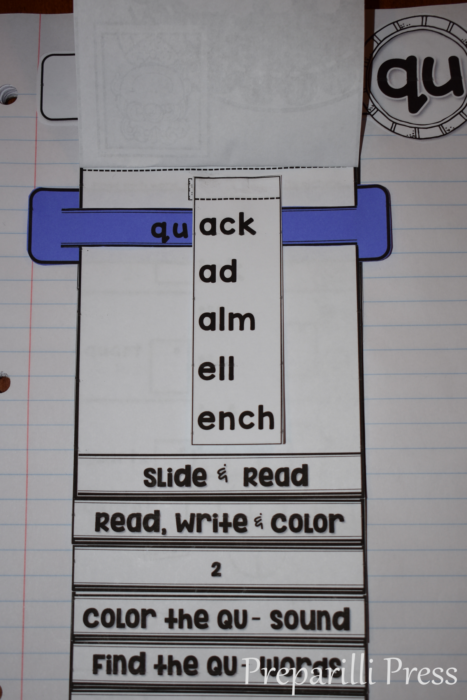
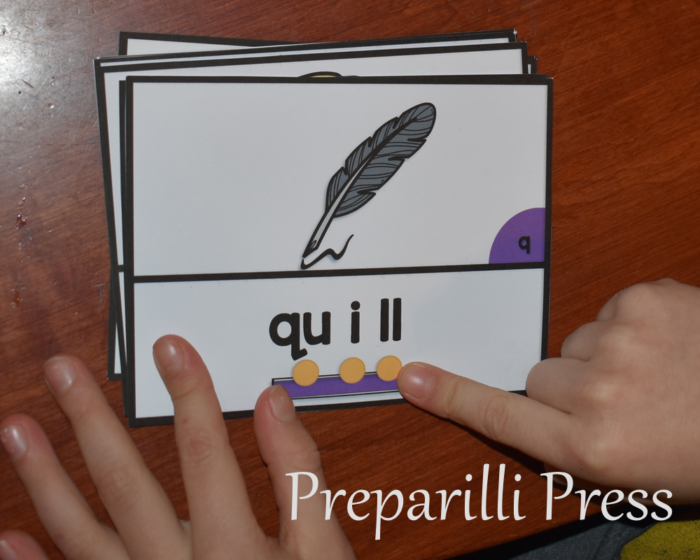
Most of your students will be familiar with the QU digraph (it isn’t a literal digraph, but for arguments sake, lets just call it one :). They are familiar with the QU pairing (Q is always written with U). But, take the time to review all of the words they can already read with this digraph. We began by matching pictures to their words on the quilt (in our Interactive Phonemic Notebook). We also used a QU slider (from our QU flapbook) and segmenting and blending cards.
2. MAKE a PHONEMIC POSTER
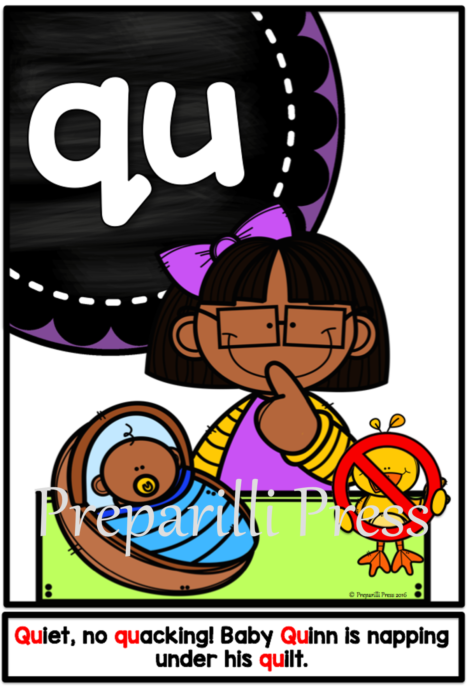
This is a FUN way to get your students using new sounds and working on alliteration. I always have my own poster ready (I’ve made a new one for QU), but BEFORE I show it to them, I have my kids make their own. This is how we do it:
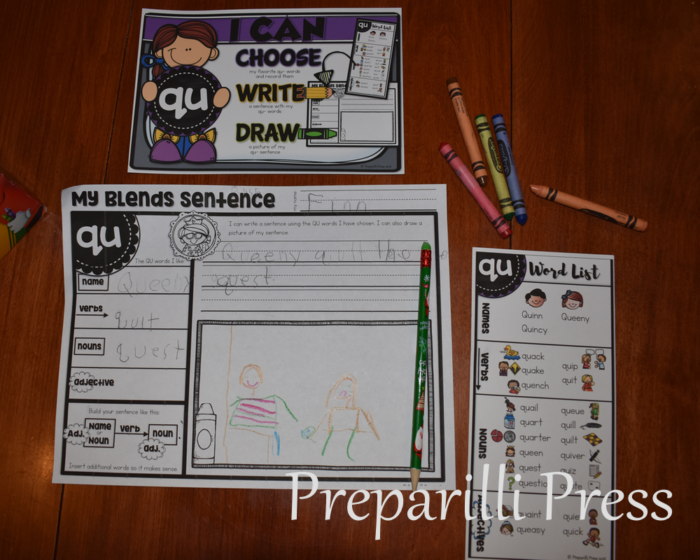
I give them a graphic word list (the words are categorized by names, verbs, nouns and adjectives) and ask them to pick their favorites and write them down on the My Blends Sentence sheet. Then, they follow the formula to make a sentence and draw a picture to demonstrate it. Once they are finished, we go over their blends sentences and I show them mine:
3. TIME to DEVELOP YOUR PHONEMIC MUSCLES
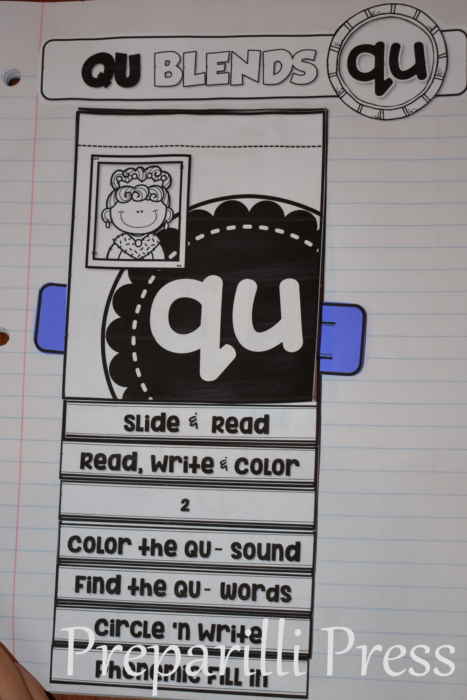
Next, we jump back into our Interactive Phonemic Notebook and learn new words (the new words are also presented on the Segmenting/Blending Cards). We will read, write, recognize, and segment them.
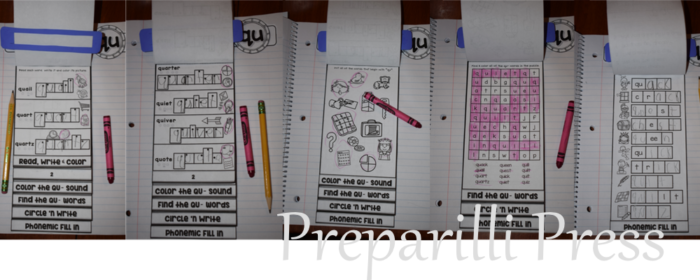
This is a great time to review other words (with blends and digraphs recently mastered) that rhyme with the target sound (QU) words.
4. PHONEMIC SPELLING and ABC ORDER
Now its it time for phonemic spelling–using the words your students can sound out (recalling blends and digraphs already learned). We make it FUN with Phonemic Strips (the arrows in the picture) and a place to store them (the quiver).
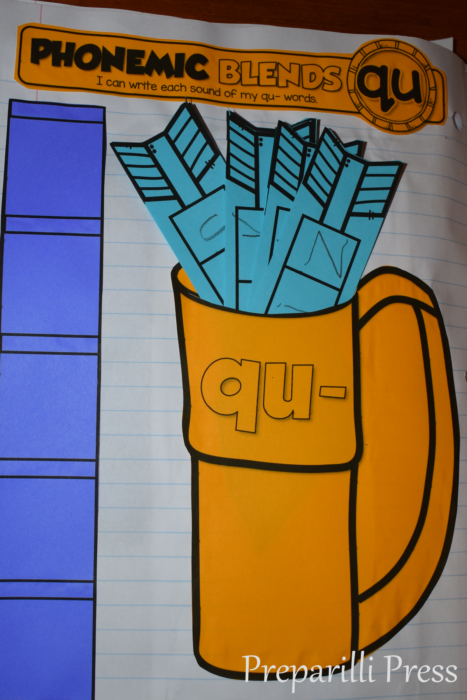
We use the Phonemic Strips to practice alphabetical ordering. This is a nice challenge since all of the words we are working with this week begin with QU. The sliders help to hold each word in place. Once the order is correct, the words are recorded.

5. BLEND ME a STORY
Now that your students can recognize so many new words, they should use them. Writing a quick story focusing on the target blend (QU) is a FUN way to do just that. 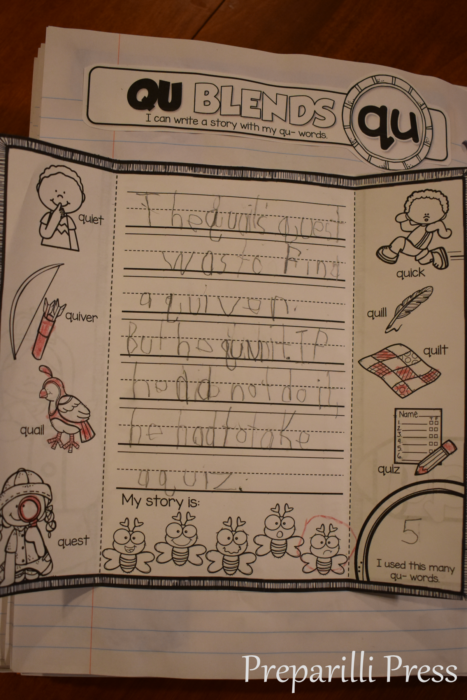
6. SHOW ME what YOU KNOW {PHONEMIC FLIPS}
After all of the great word work your students have done with QU it is time for them to have some FUN showing you what they know. They will do this with the QU Phonemic Flips.
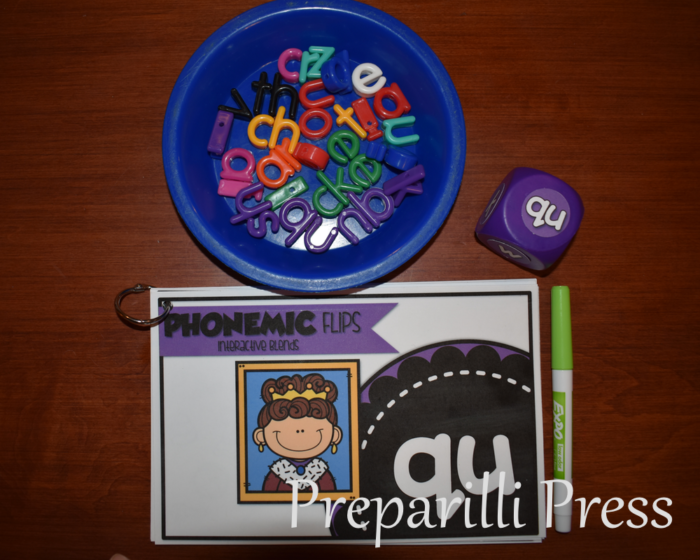
With this interactive blends booklet, they will use a dry erase marker, a blending dice–I like using foam dice :), but you can easily build the blends dice included in the pack–and lowercase letter manipuatives. I know a lot of you are fans of the magnetic letters. You are welcome to use these instead of the lacing letters we use. {Flip}
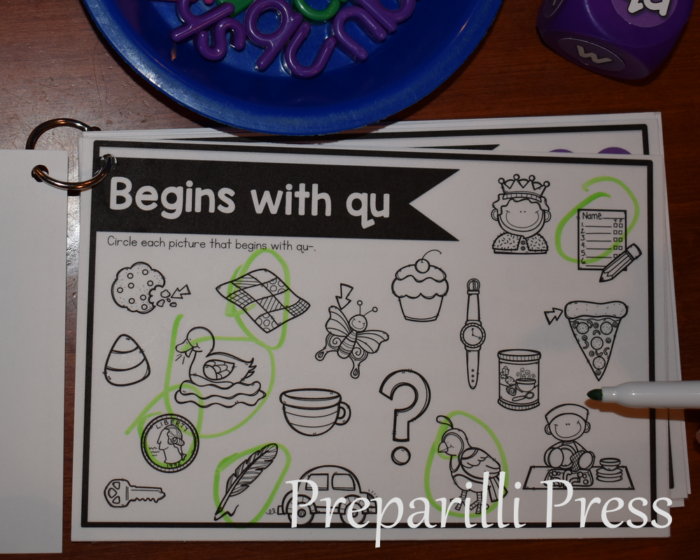
Circle all of the pictures that begin with the target sound (he circled “question” after I took the photo :). {Flip}
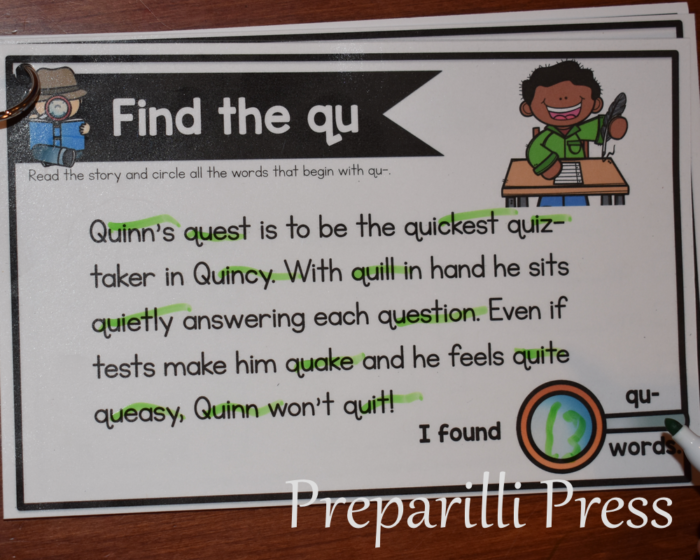
Read the passage and find all of the words that begin with QU. I try to keep these stories as simple (and funny) as possible; but your students will need help with a few of the words (i.e. taker, answering, question, queasy). {Flip}
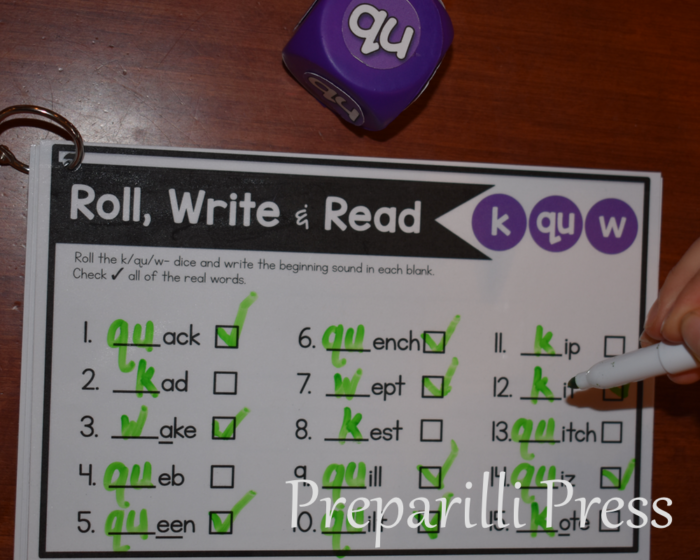
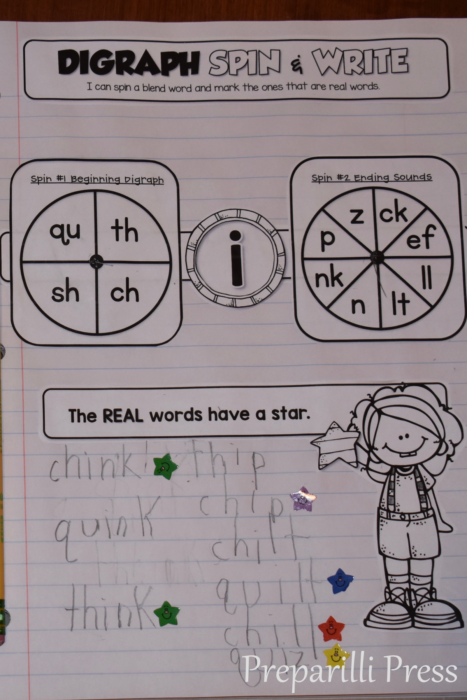
Now its time to use the dice (this is my kids’ favorite task–it turns into quite a game). This is where you’ll be able to assess the strength of your students’ phonemic muscles. They will roll either a K, QU or W and write it in the blank. Then sound out the word and decide if it is real, or not. Only real words receive a check mark. {Flip}
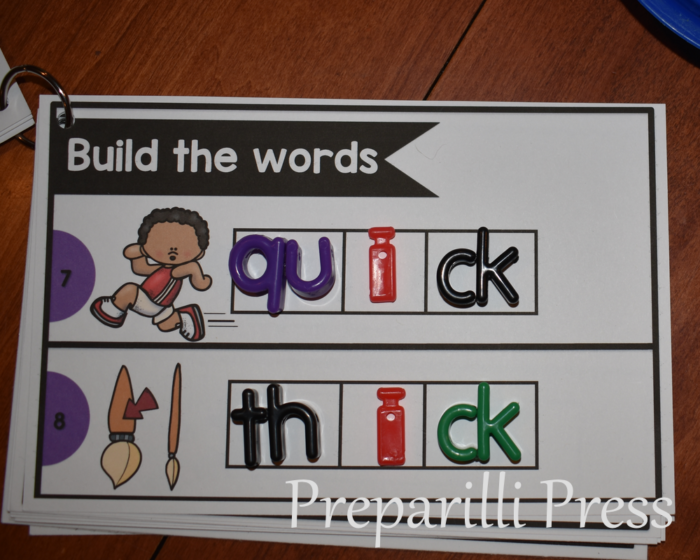
Using the letter manipulatives, your students will build the words we have worked on all week, phoneme-by-phoneme. One thing I like to do at this stage of word development (which you might not be used to 🙂 is link the letters together that make the new phonemes (I heart glue dots). So, in this photo the QU, CKs and TH are glue-dotted together. This is a simple technique that will help your students recognize that these letter pairs stick together to make the new sounds they are learning. And the great thing about glue dots is they hold tight, but are easy to remove. As your students’ phonemic learning progresses, the glue dots disappear. {Flip, flip, flip, flip, flip–there are 20 words in this section}
7. REVIEW THOSE DIGRAPHS and BLENDS
Great readers and spellers don’t develop overnight, so reviewing what is learned is always helpful. We like these word building exercises (they are a part of our Interactive Phonemic Notebooks–pictured next to the QU story).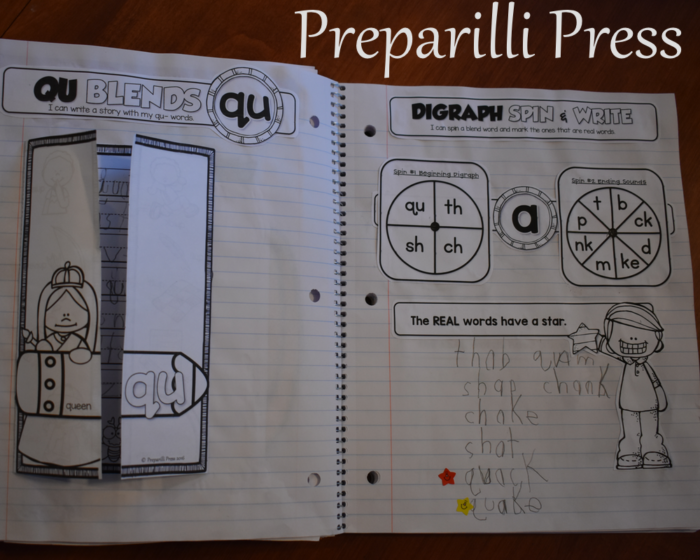
And this PENCIL BOX independent work center: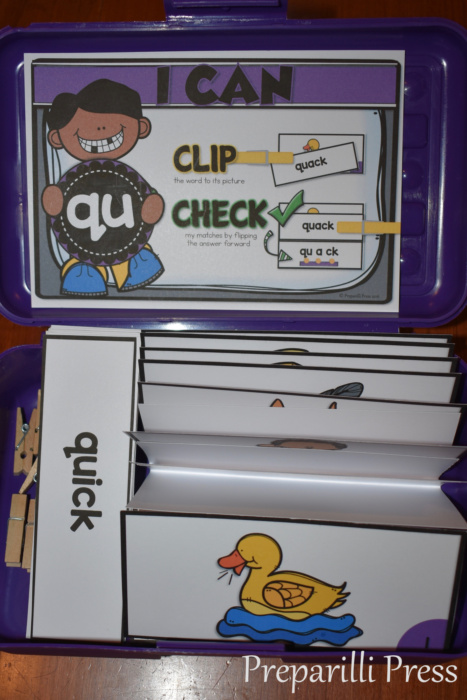
Simply take the segmenting/blending cards and fold them along the mid-line:
Using clothespins, your students will attach the word to each picture and then self-check, flipping the segmented word forward to match the word they have attached.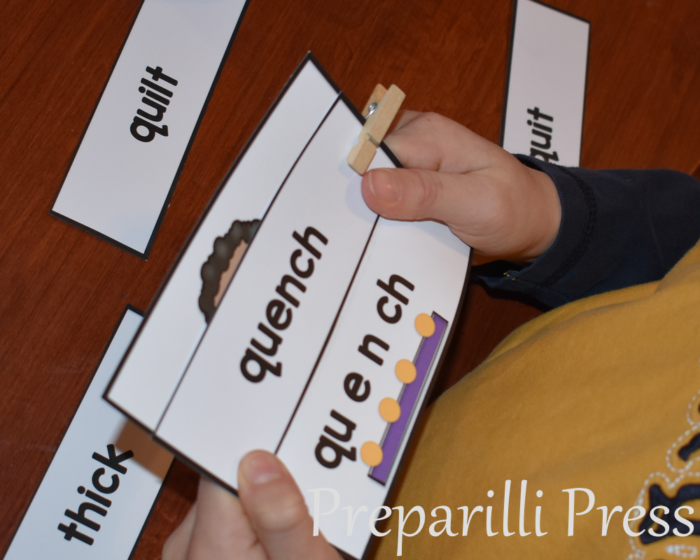
So, that is how we do it! What do you think? Are you ready to dive into phonemic instruction & word building?